Inventory your home
How to setup and track the valuables in your home using the My Inventory Tracker app.
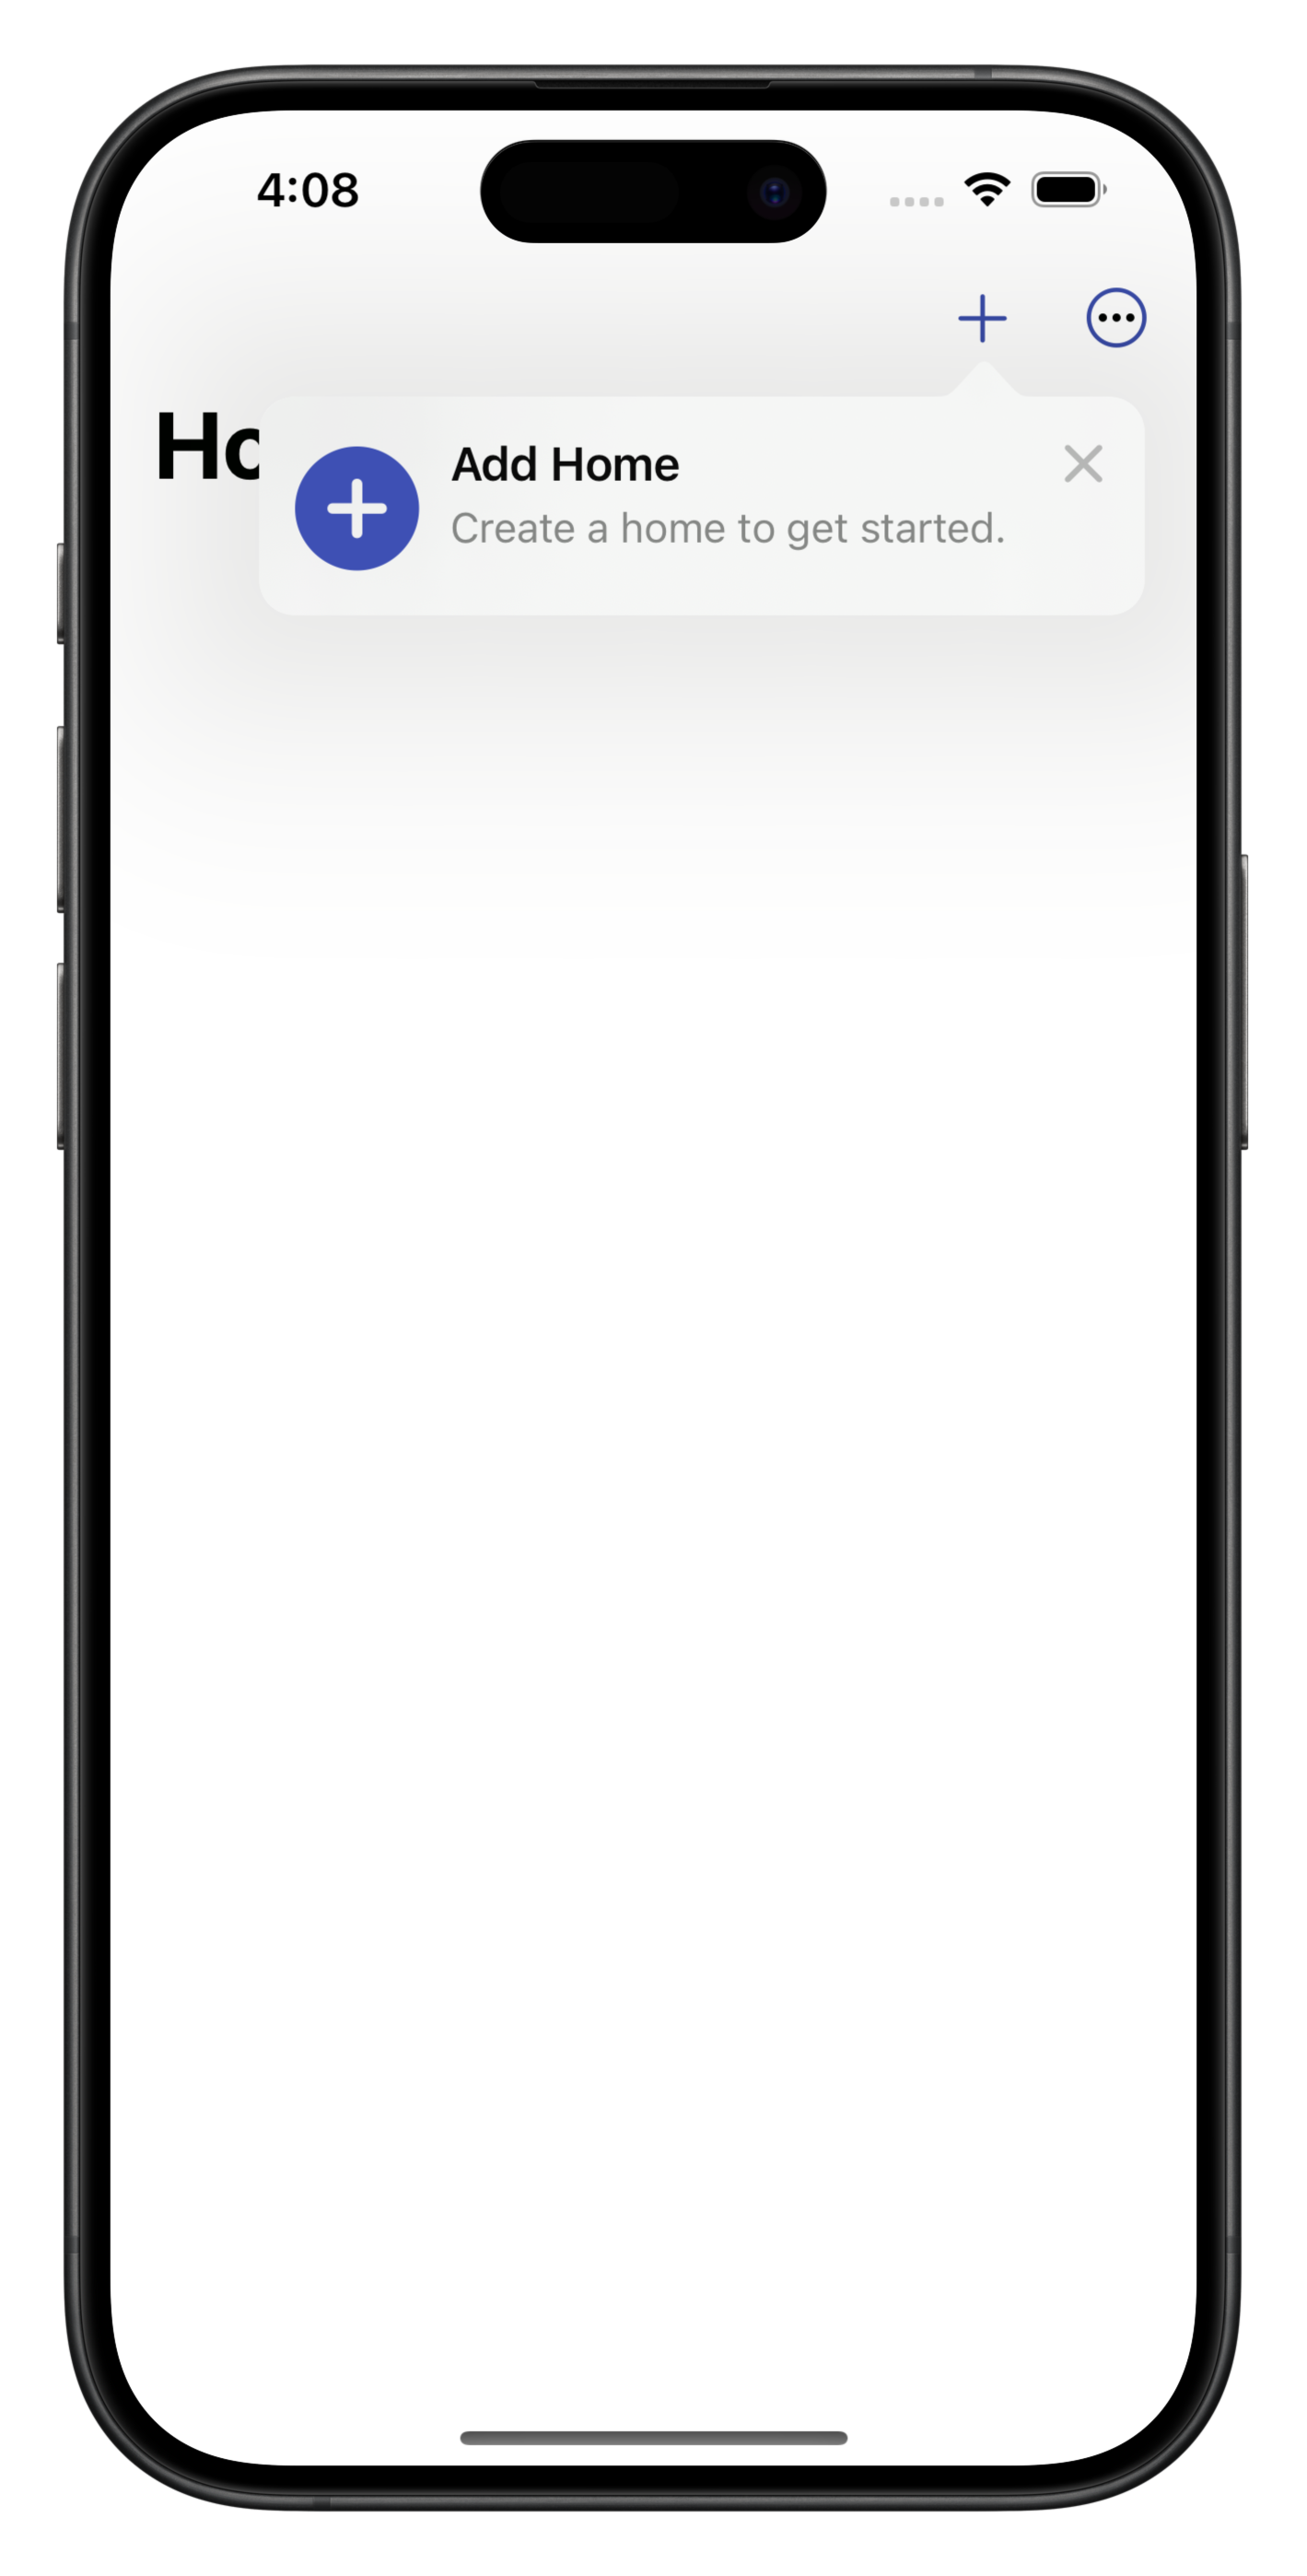
Add Home
Inventory is organized into homes, so you must create a home to get started.
- Tap the plus icon to create your first home.
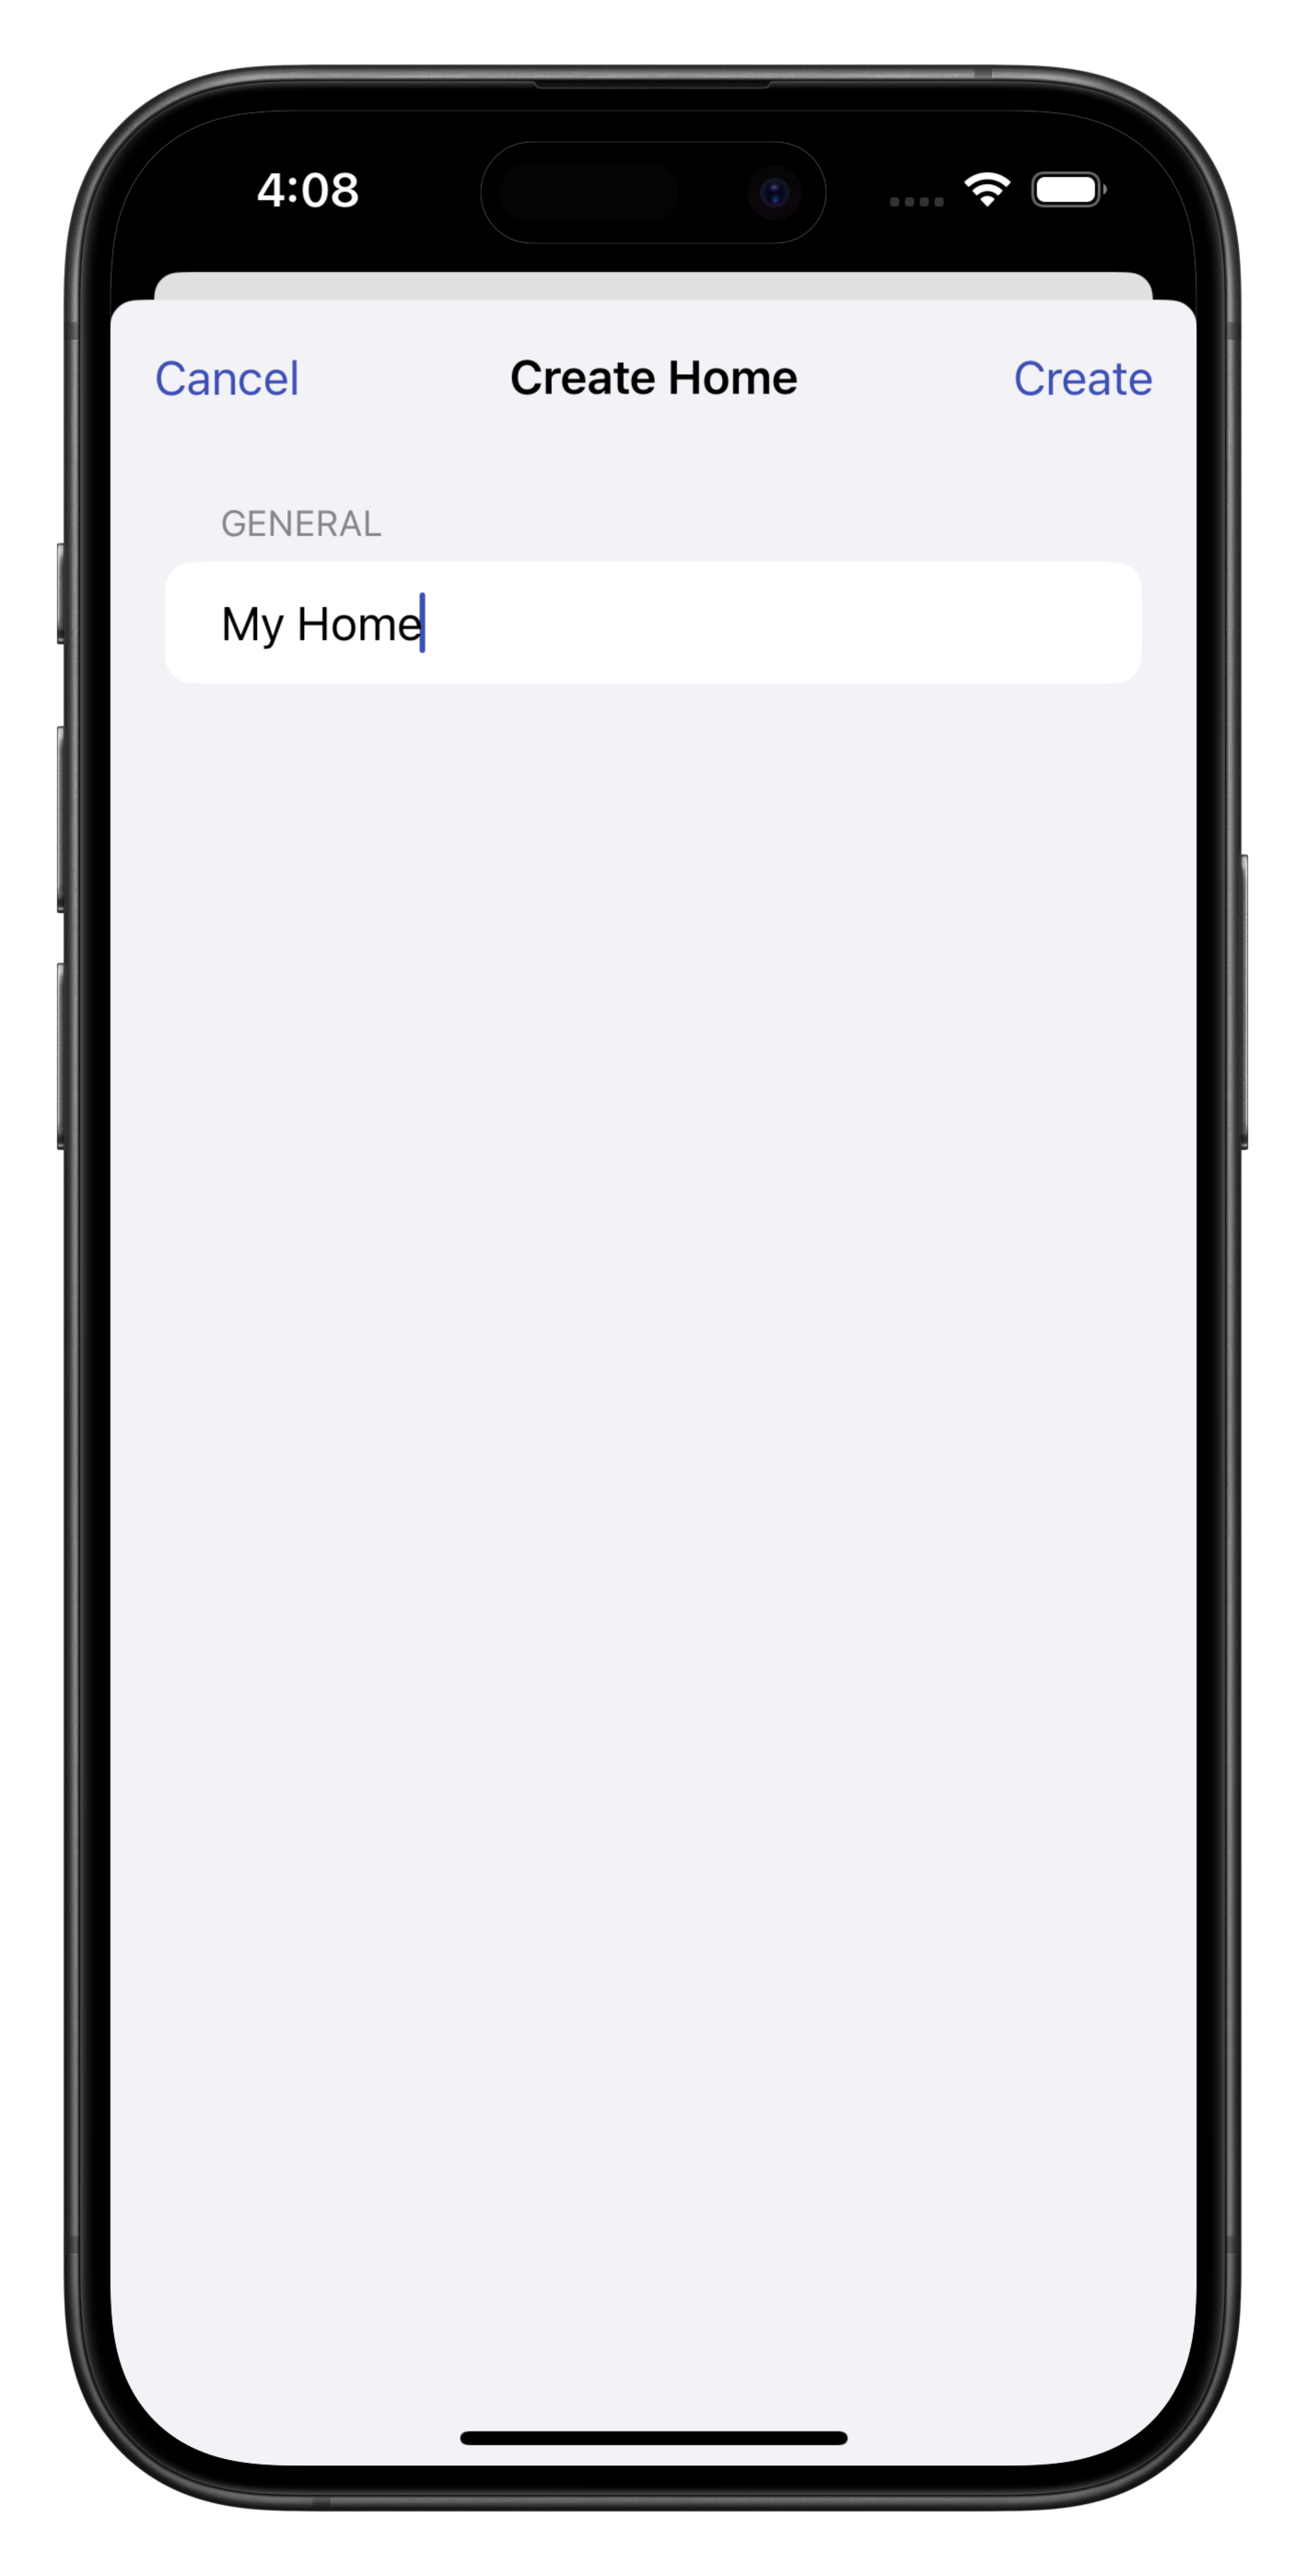
- Give your home a friendly name, like "My Home".
- You can now begin adding inventory items to your home.
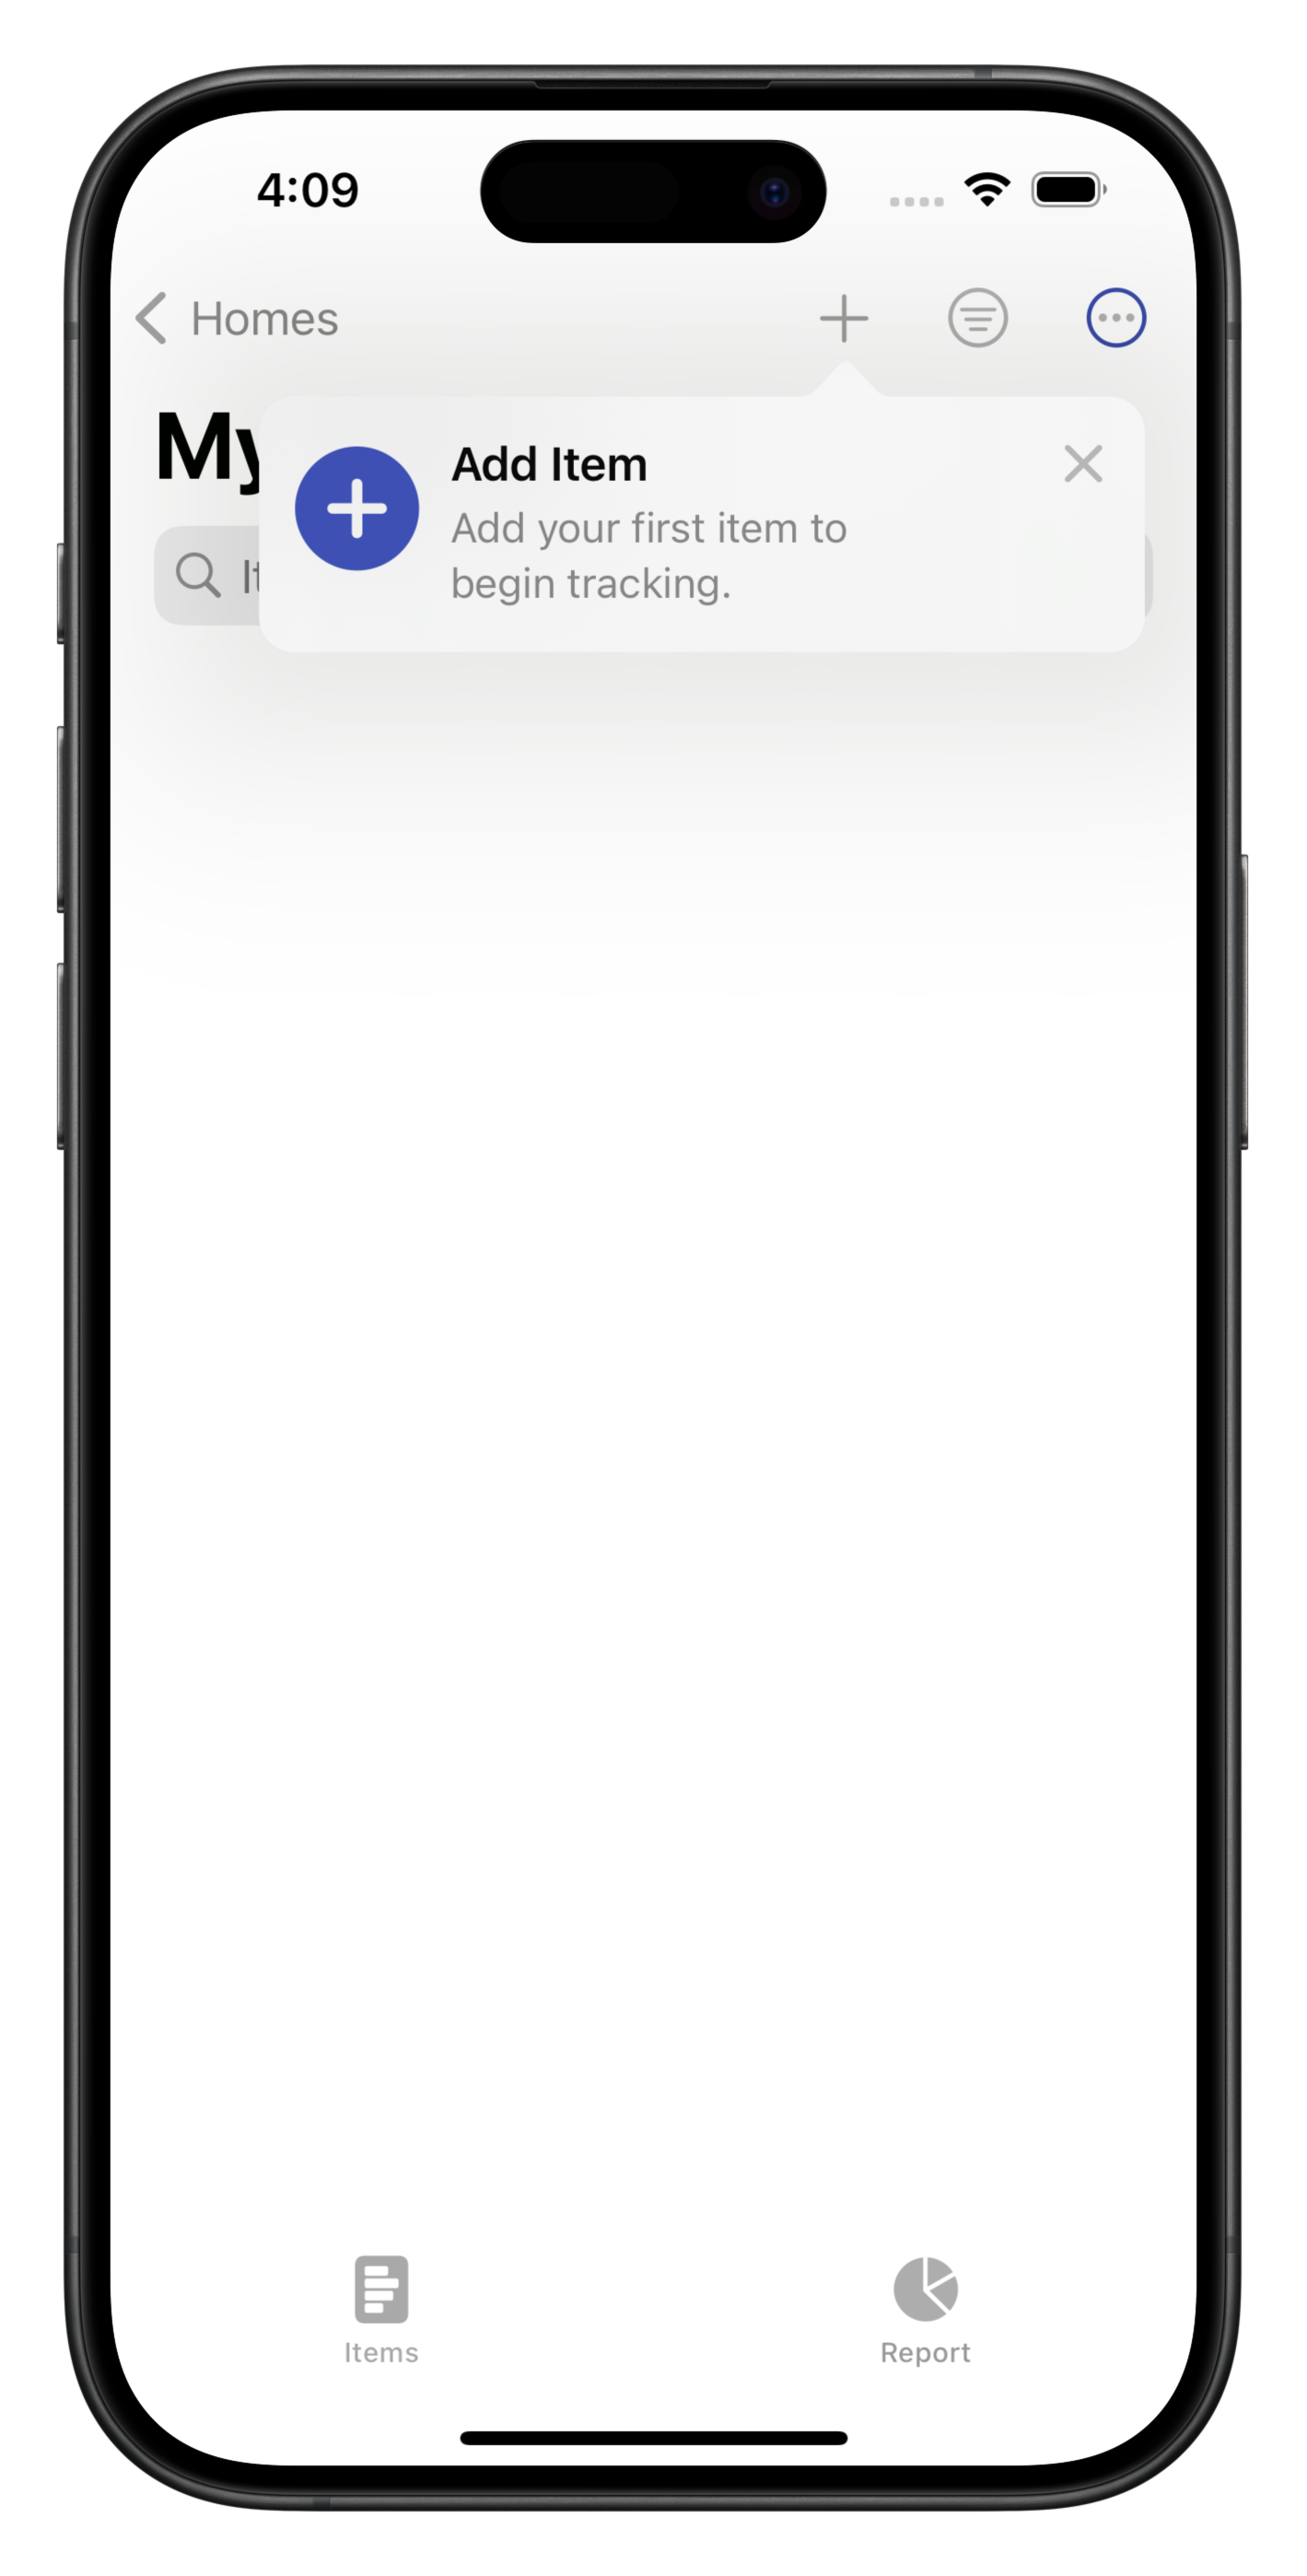
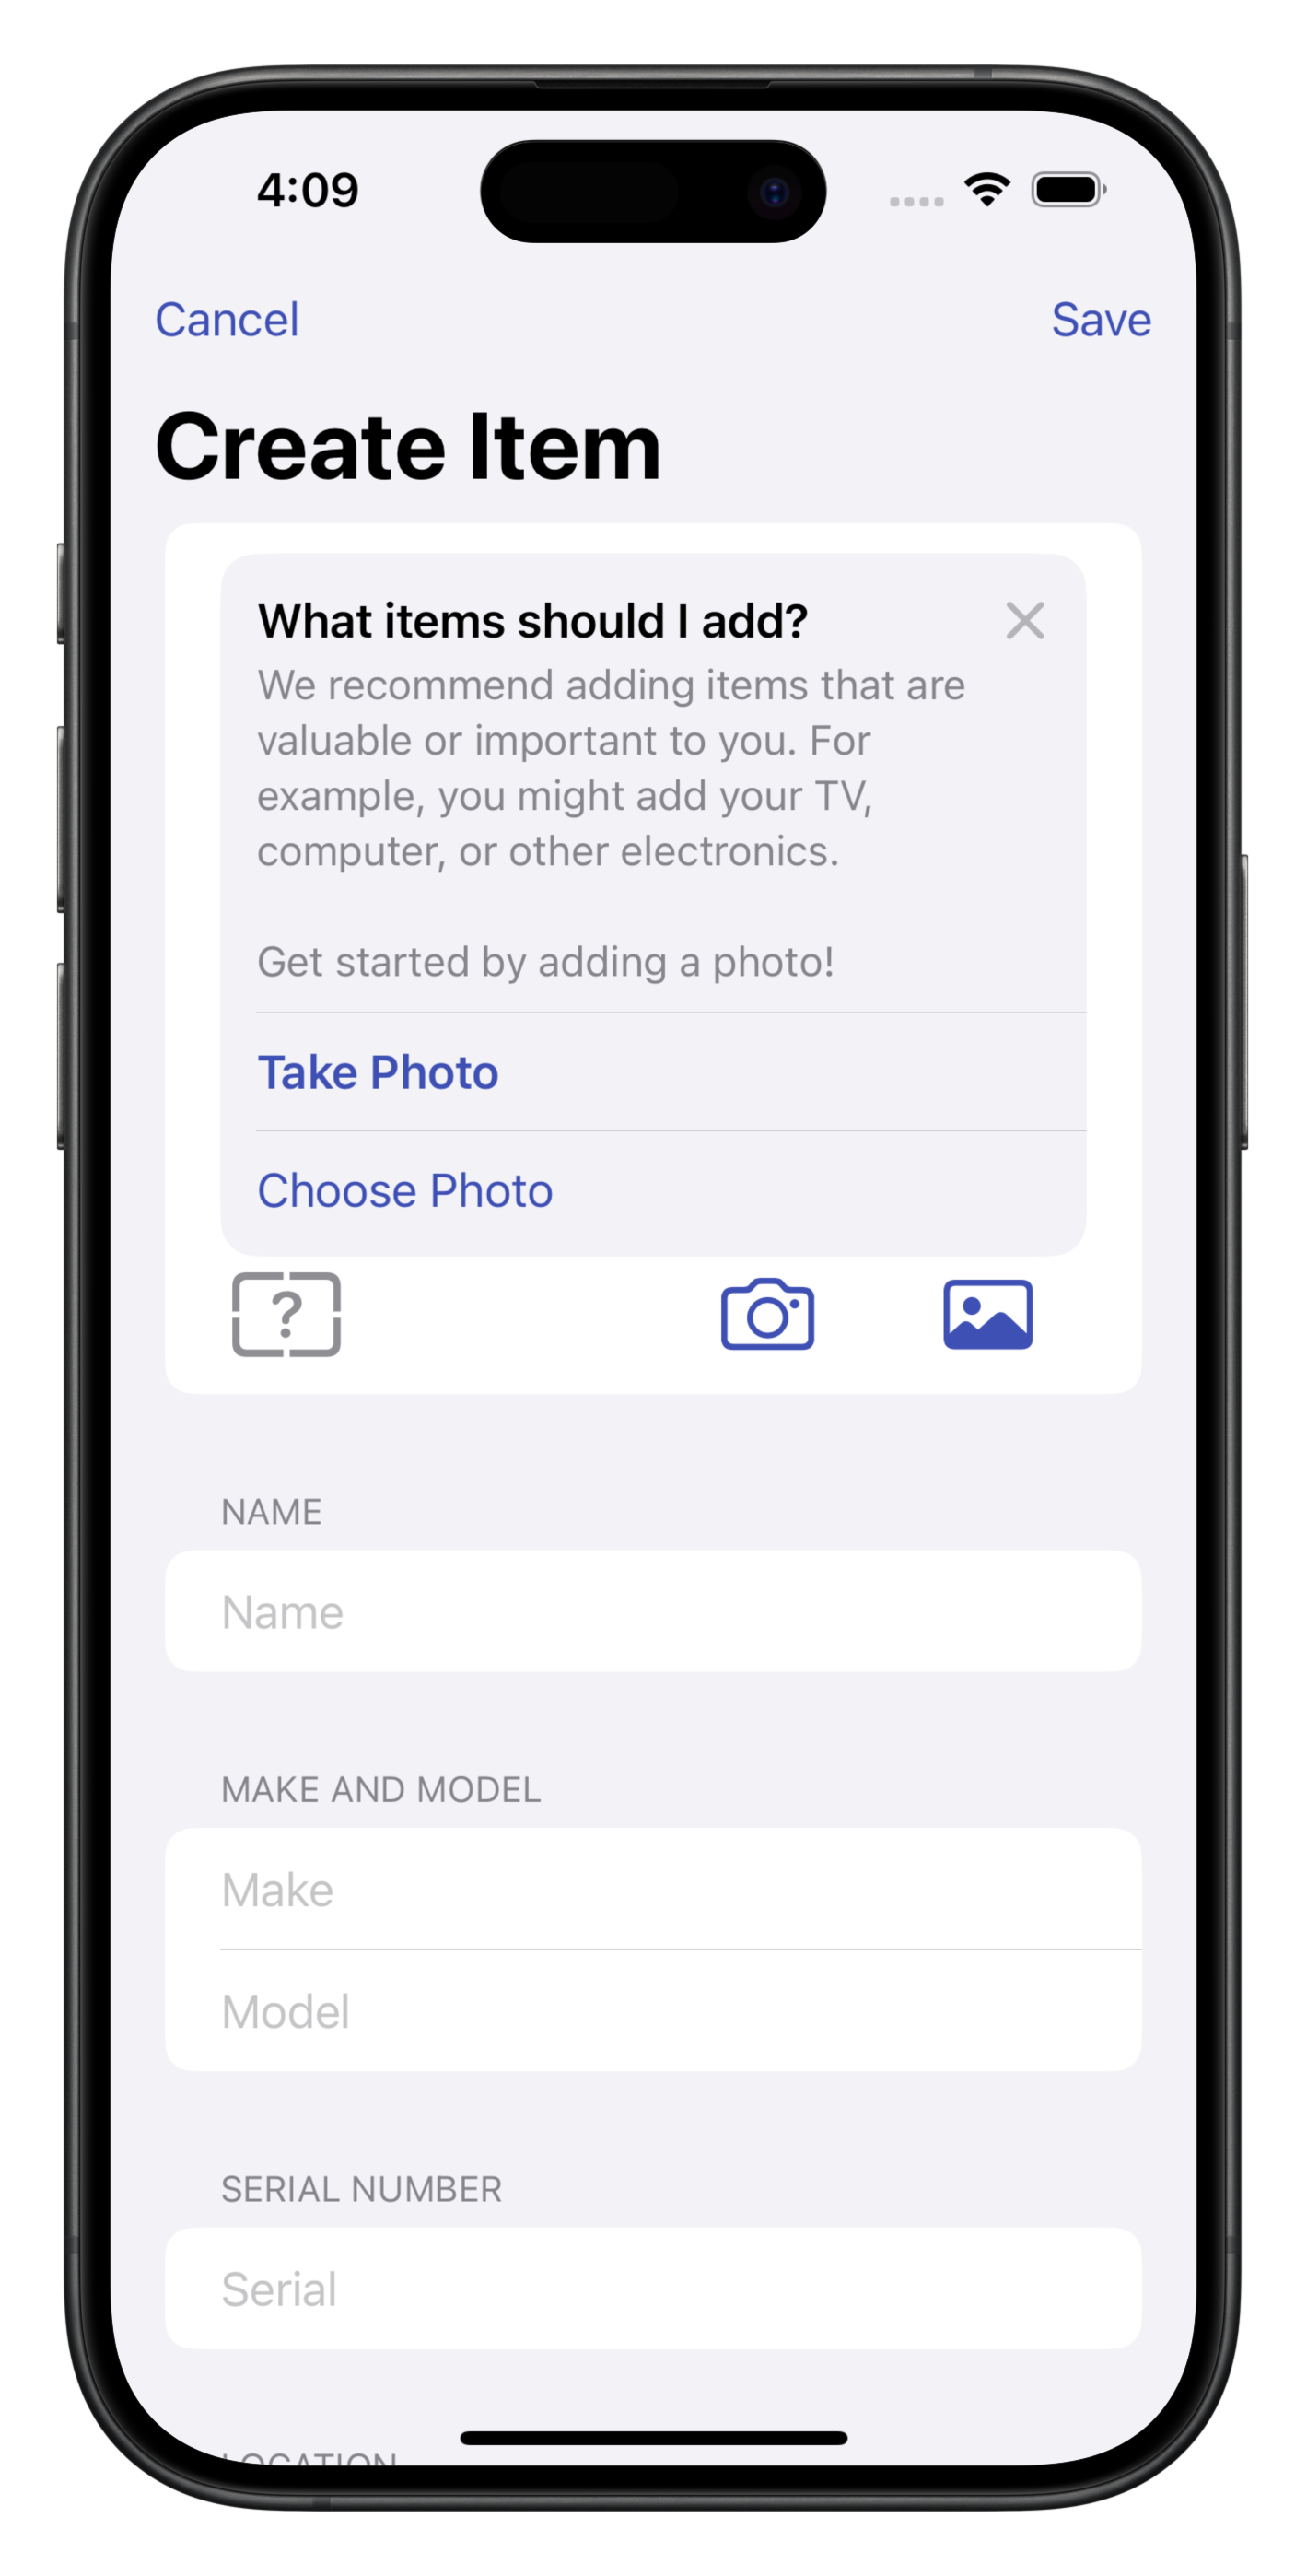
Add Items
We recommend that you add items of value or importance to you. For example, you might add your laptop.
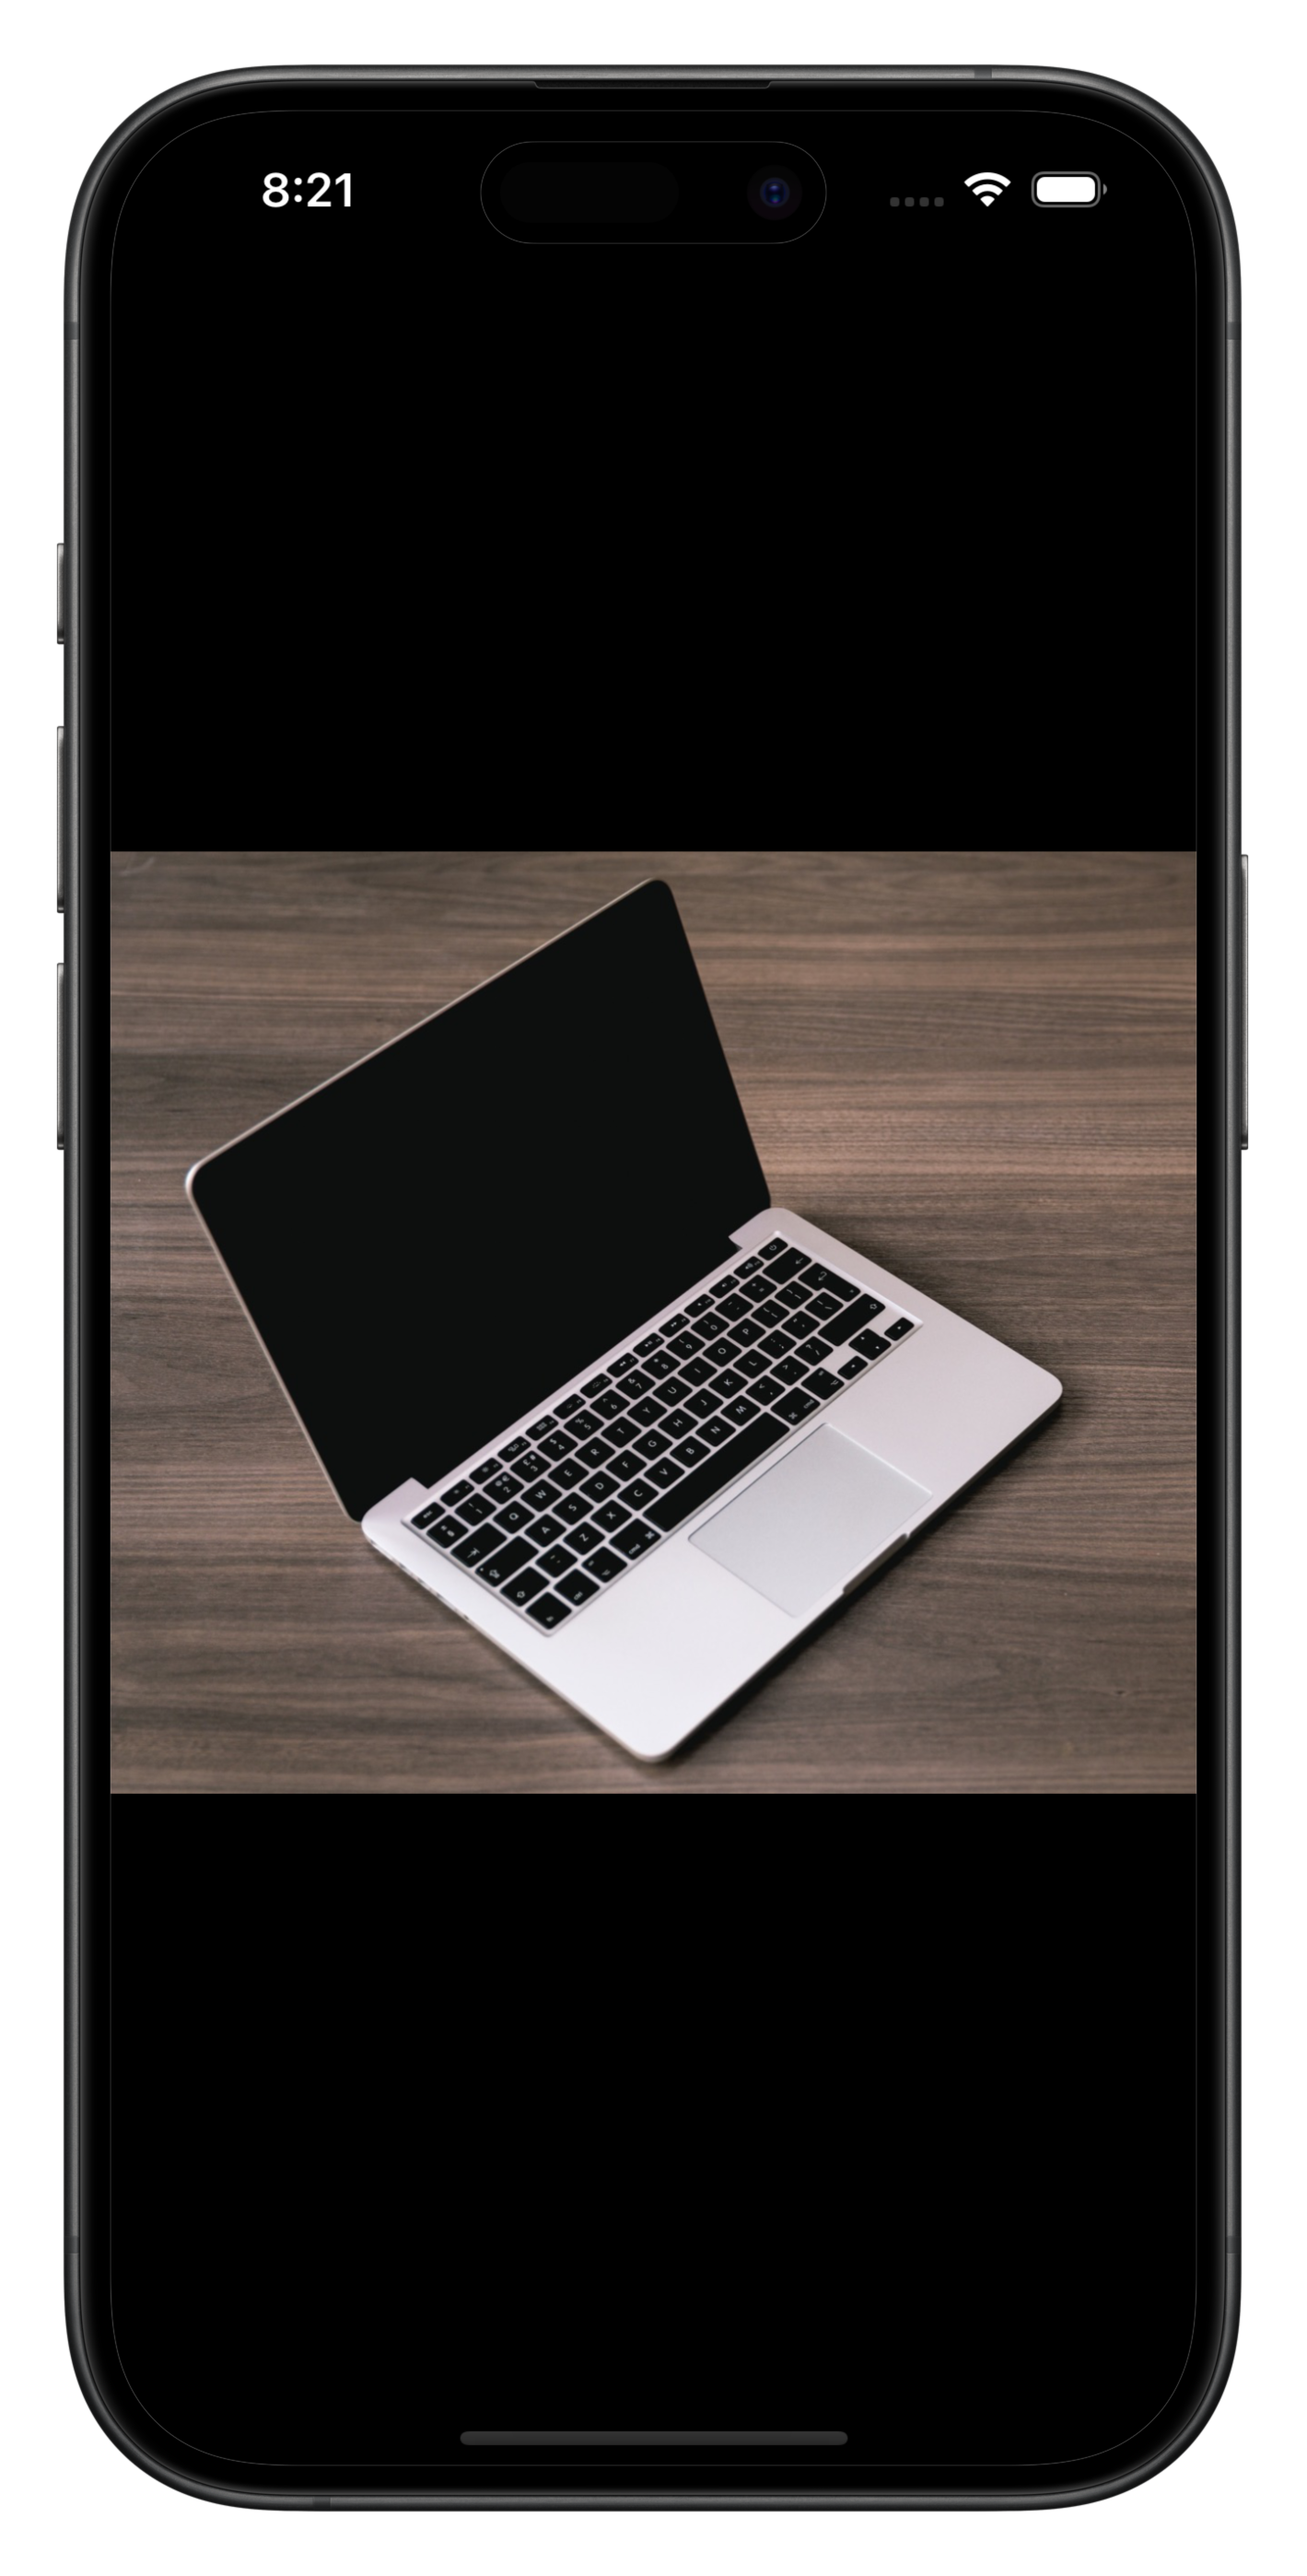
- Take a photo of it.
- Use the Name field to provide a friendly name for the item, such as "MacBook".
- Enter the Make, Model and Serial Number if known.
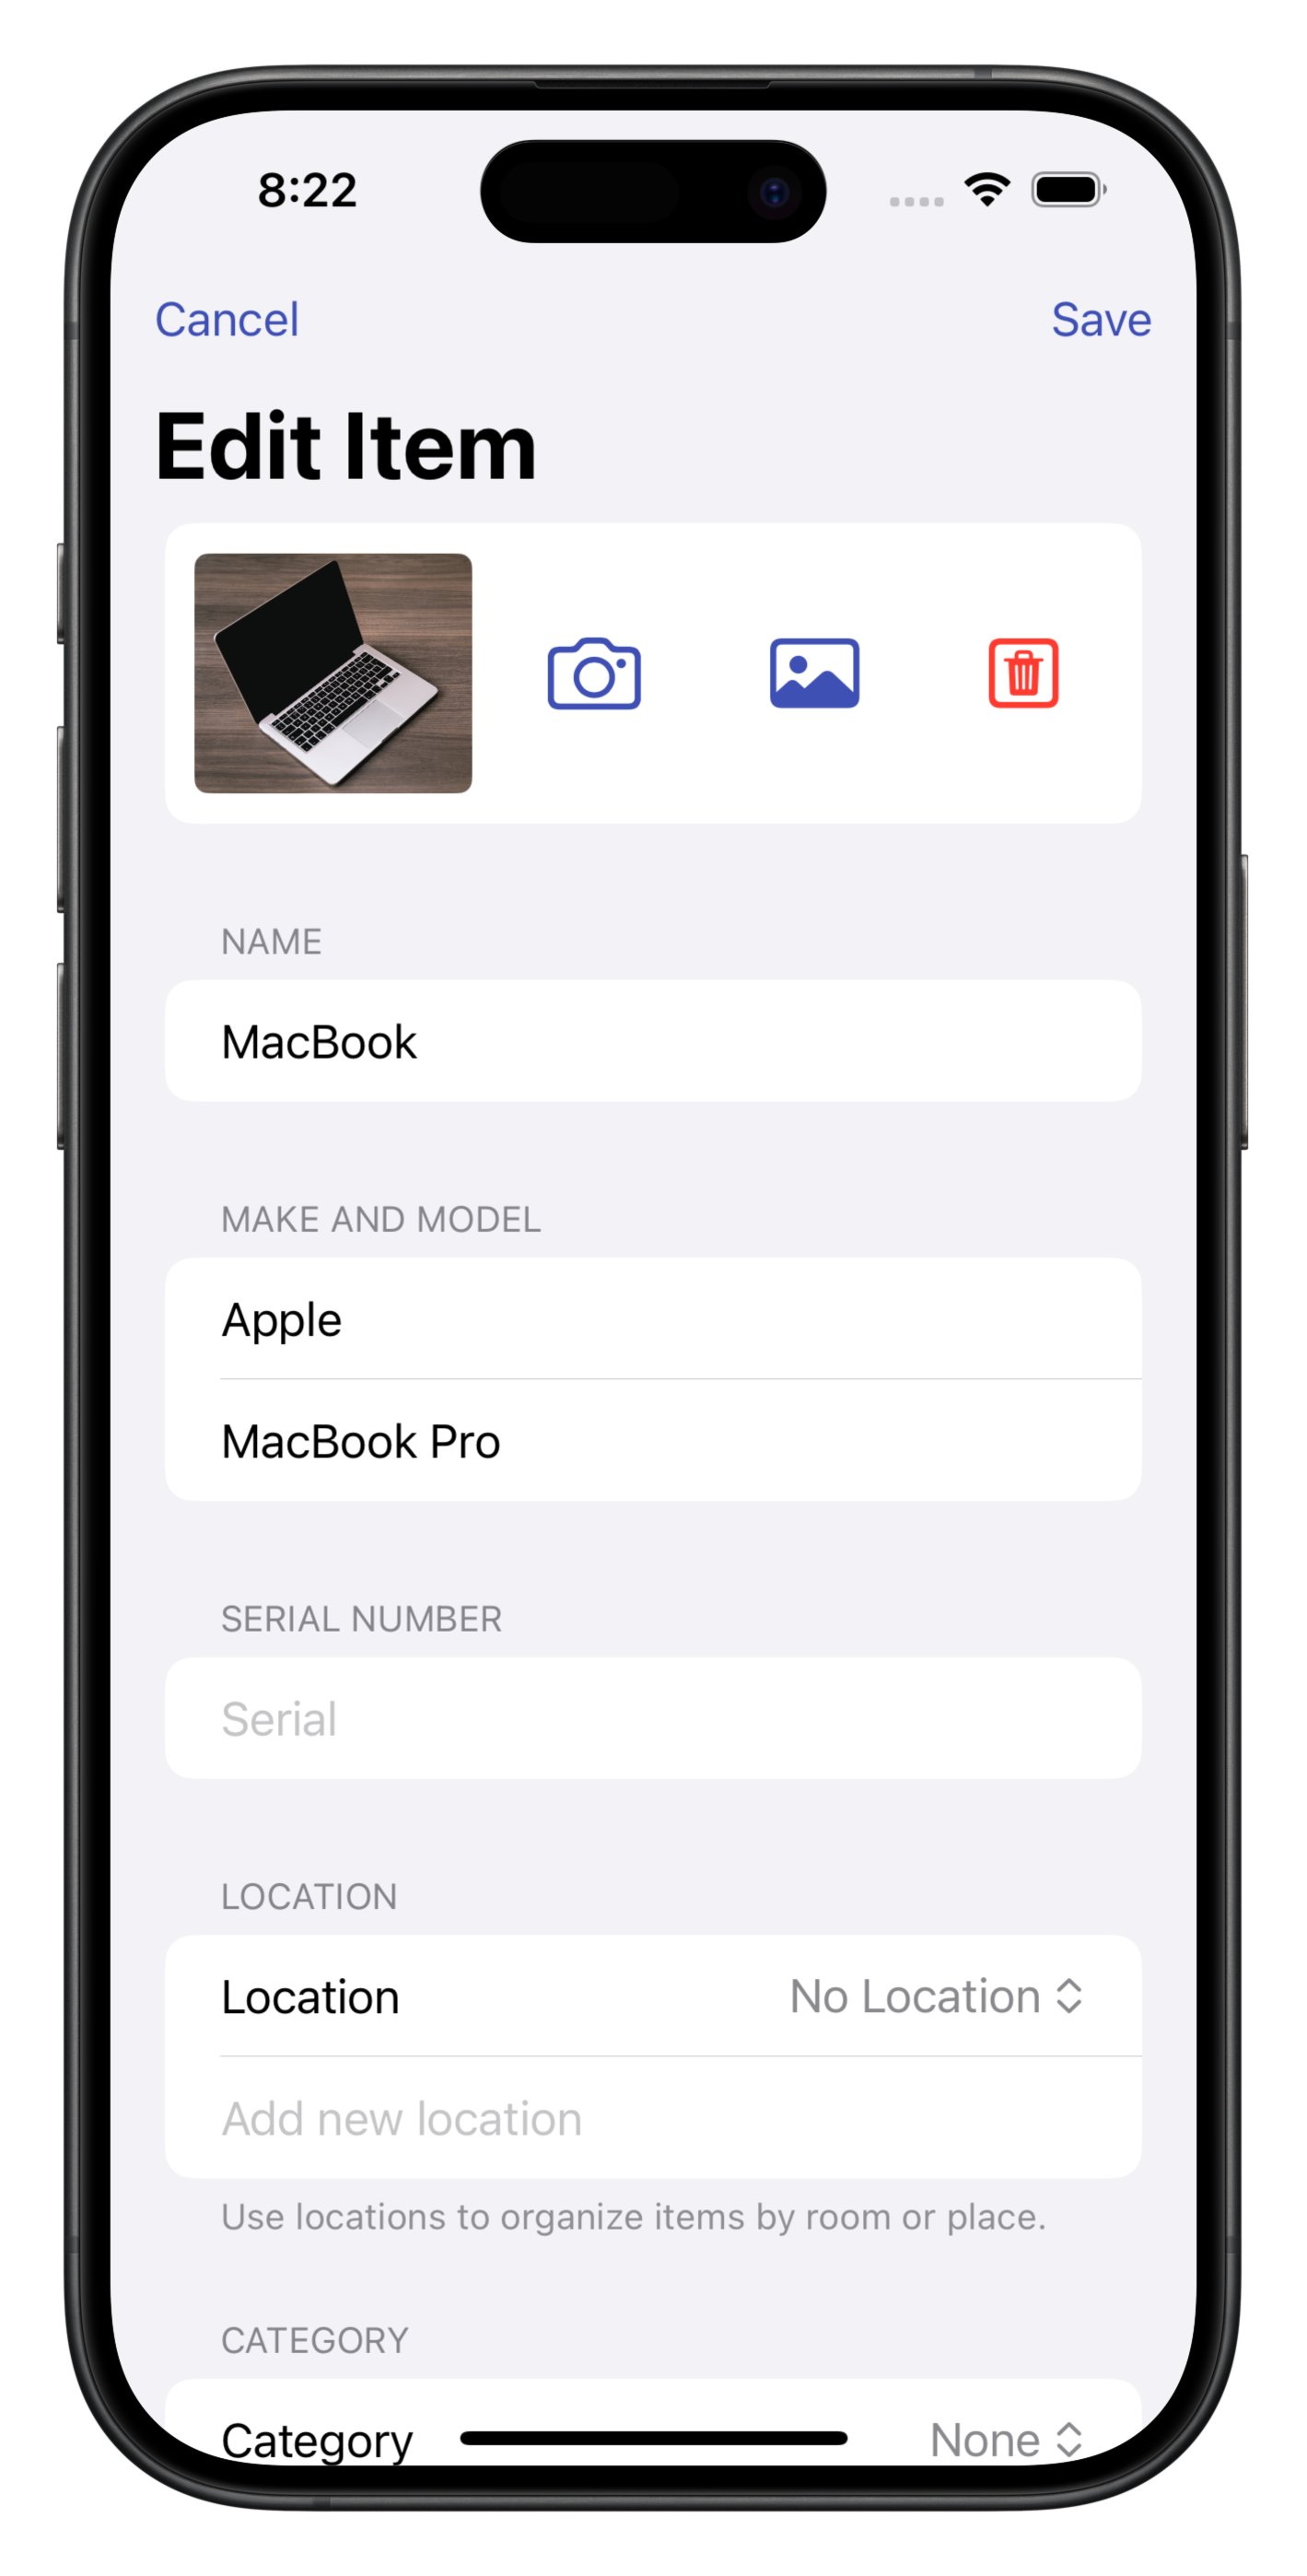
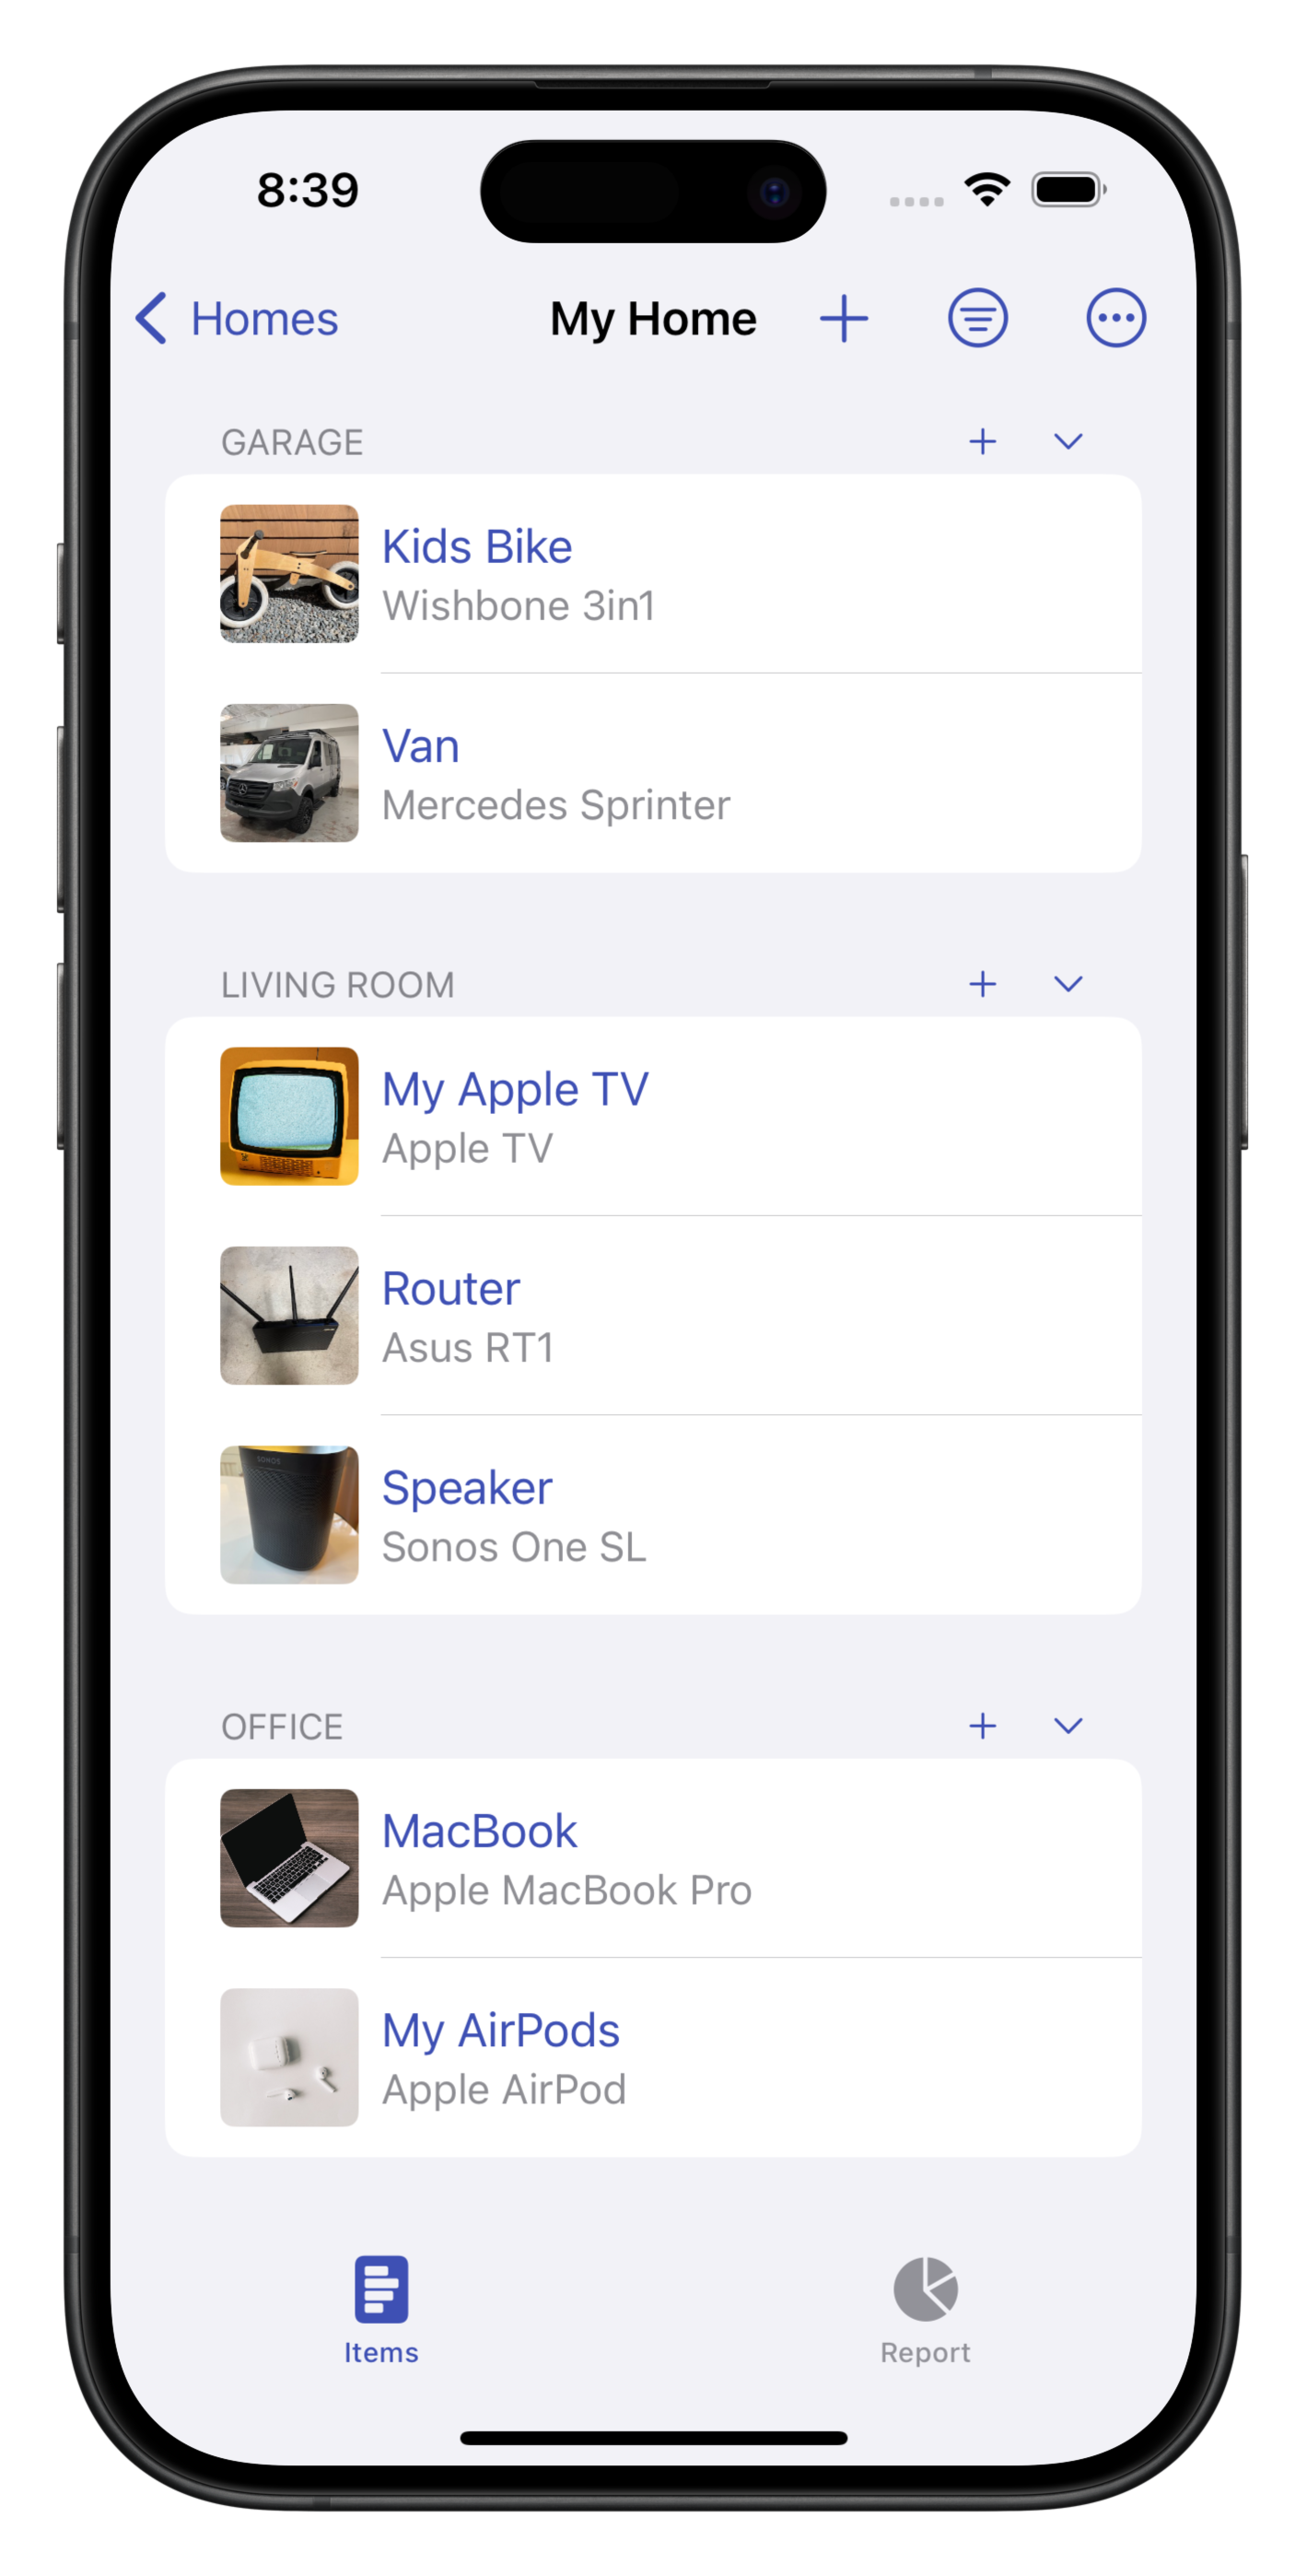
Add More Item Details
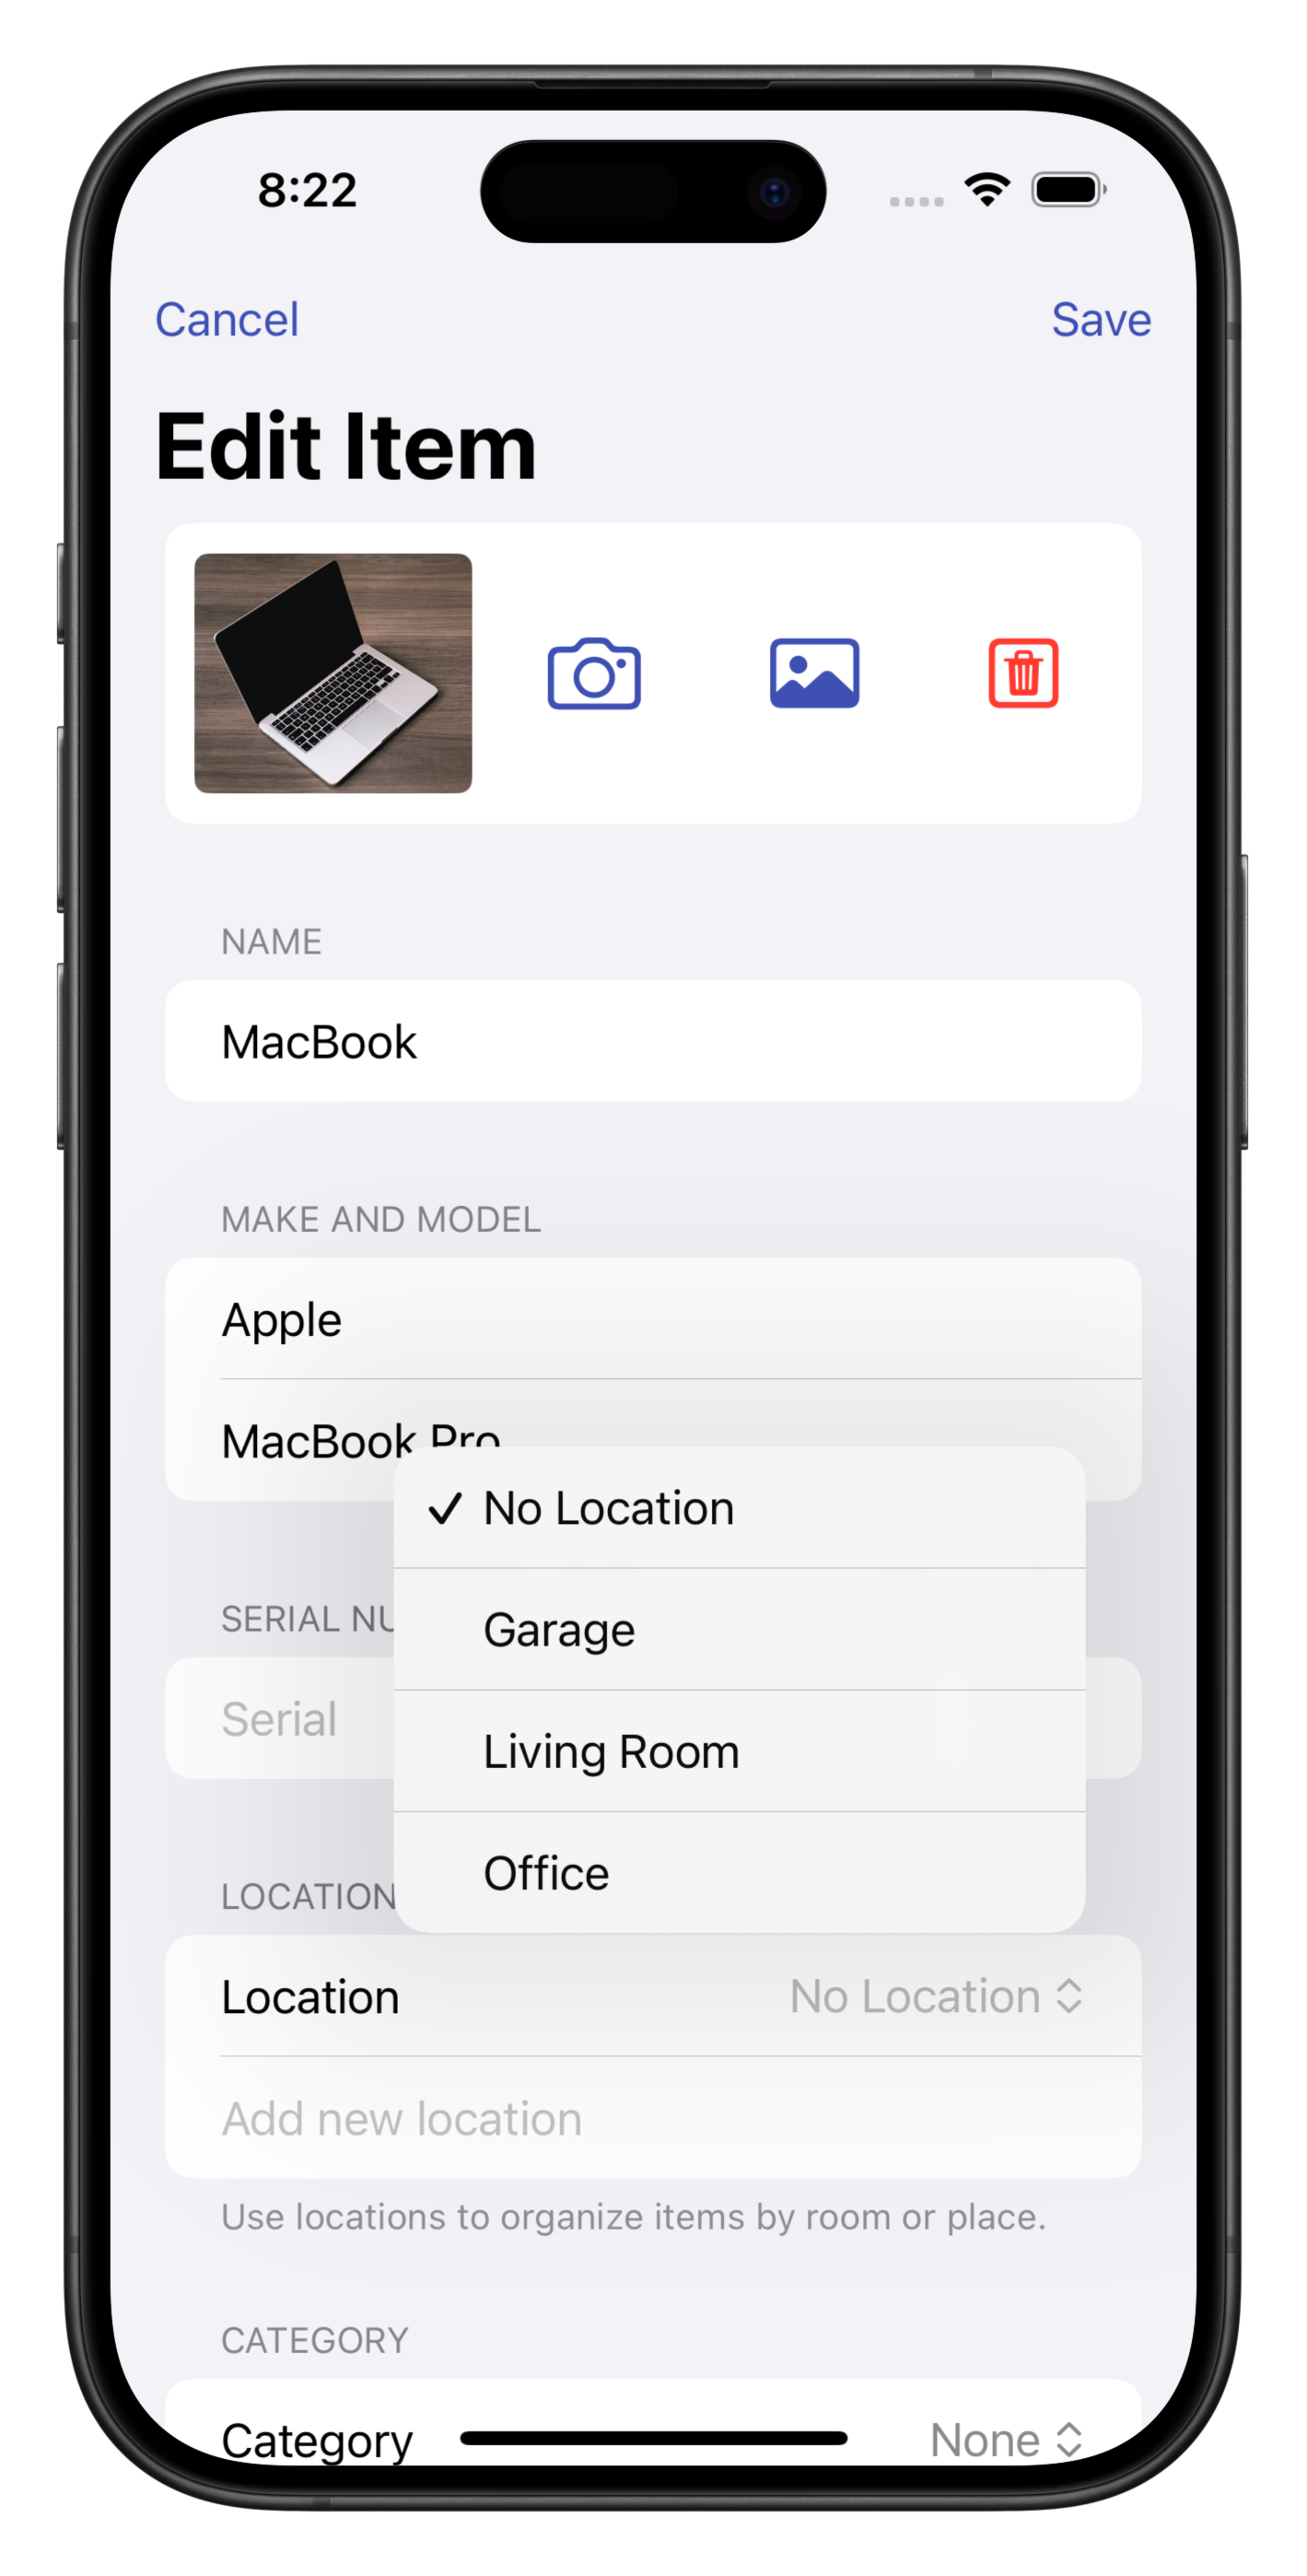
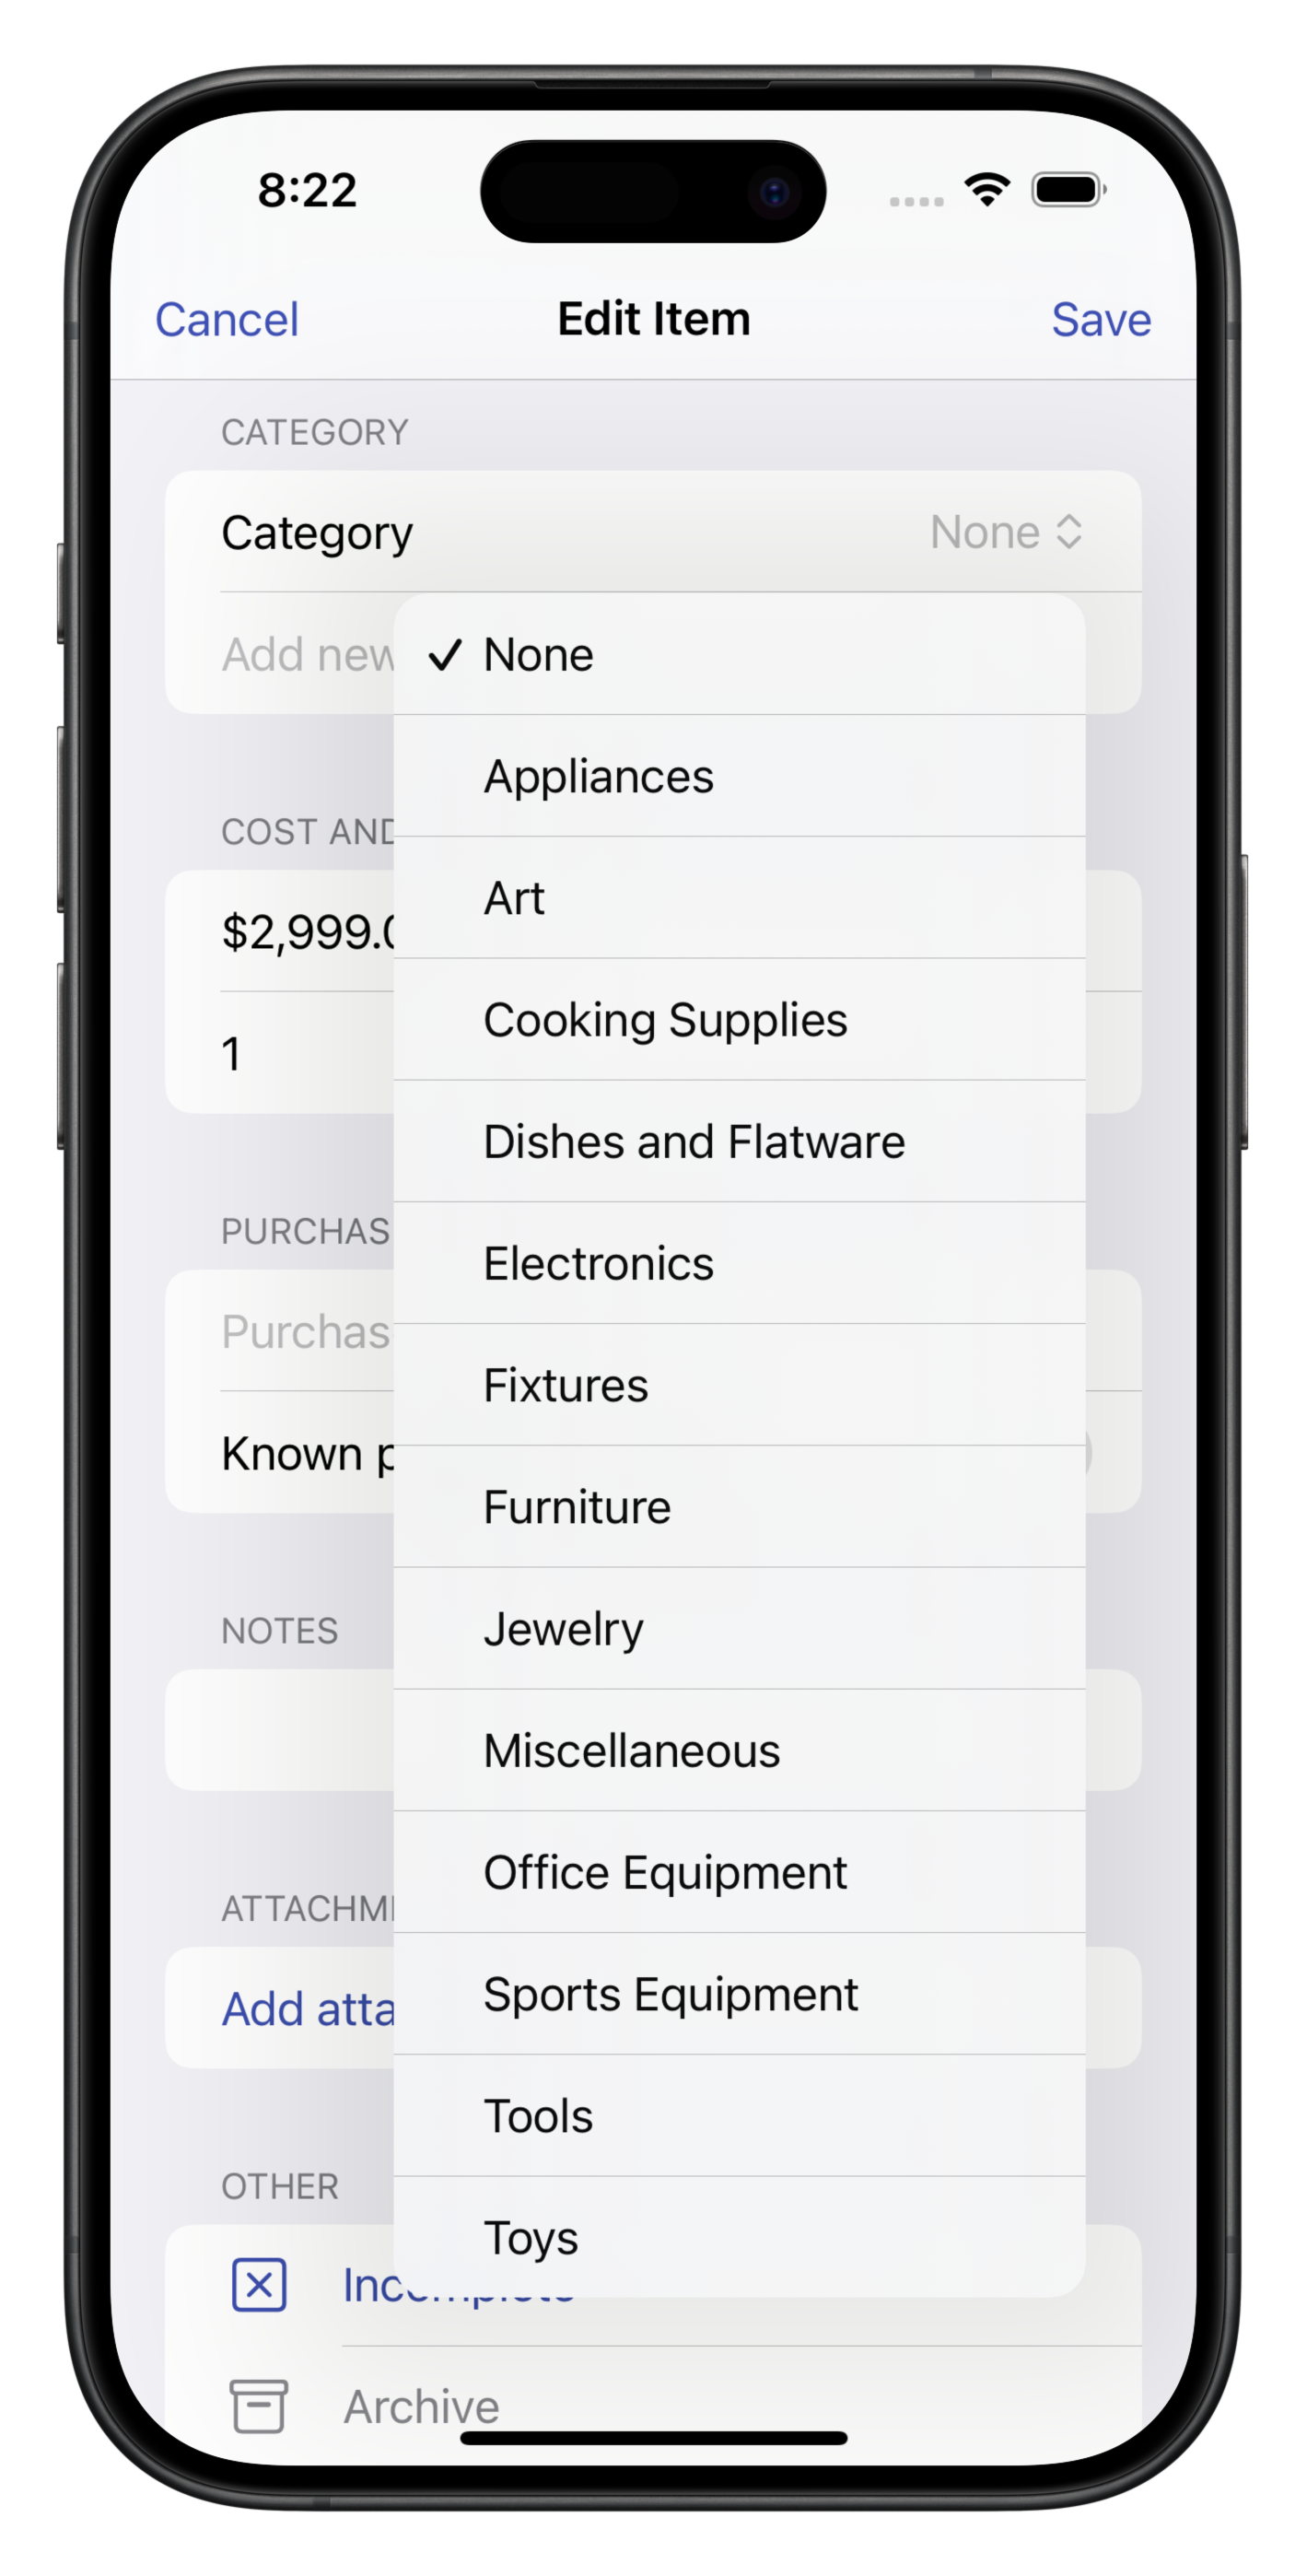
You can use the Location field to organize items by room or place. Tap "No Location" to select an existing location or enter the name of a new location in the field below.
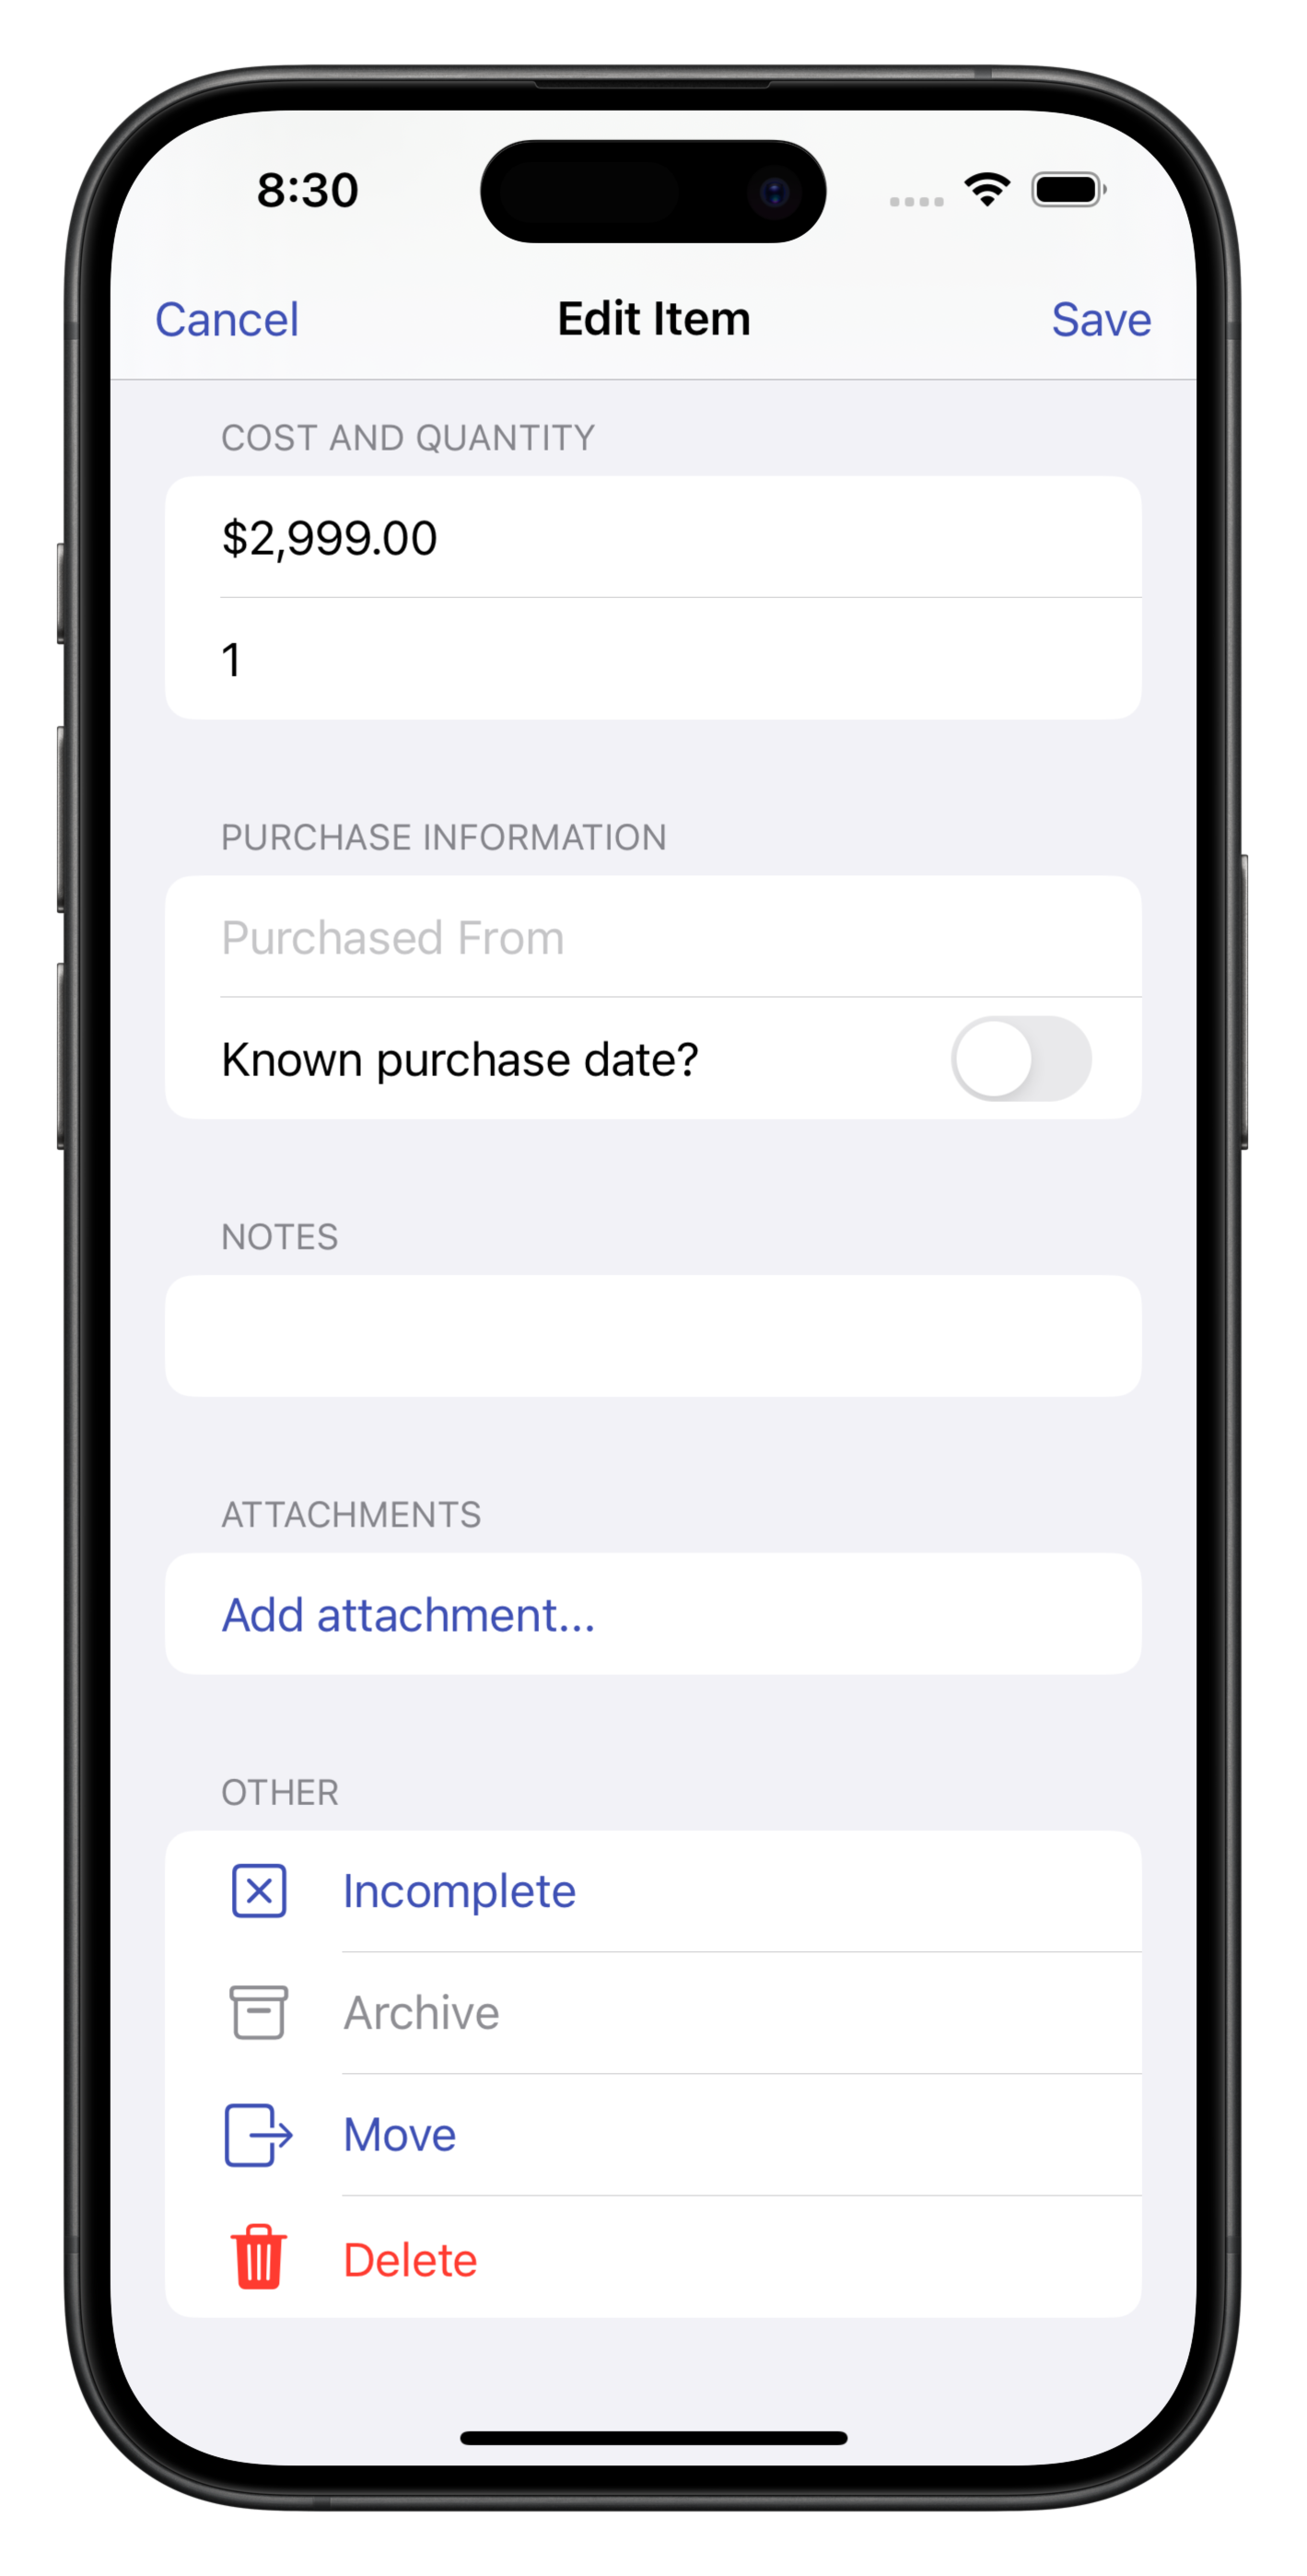
Continuing on, you can optionally add Cost, Quantity, Purchase Information and Notes.
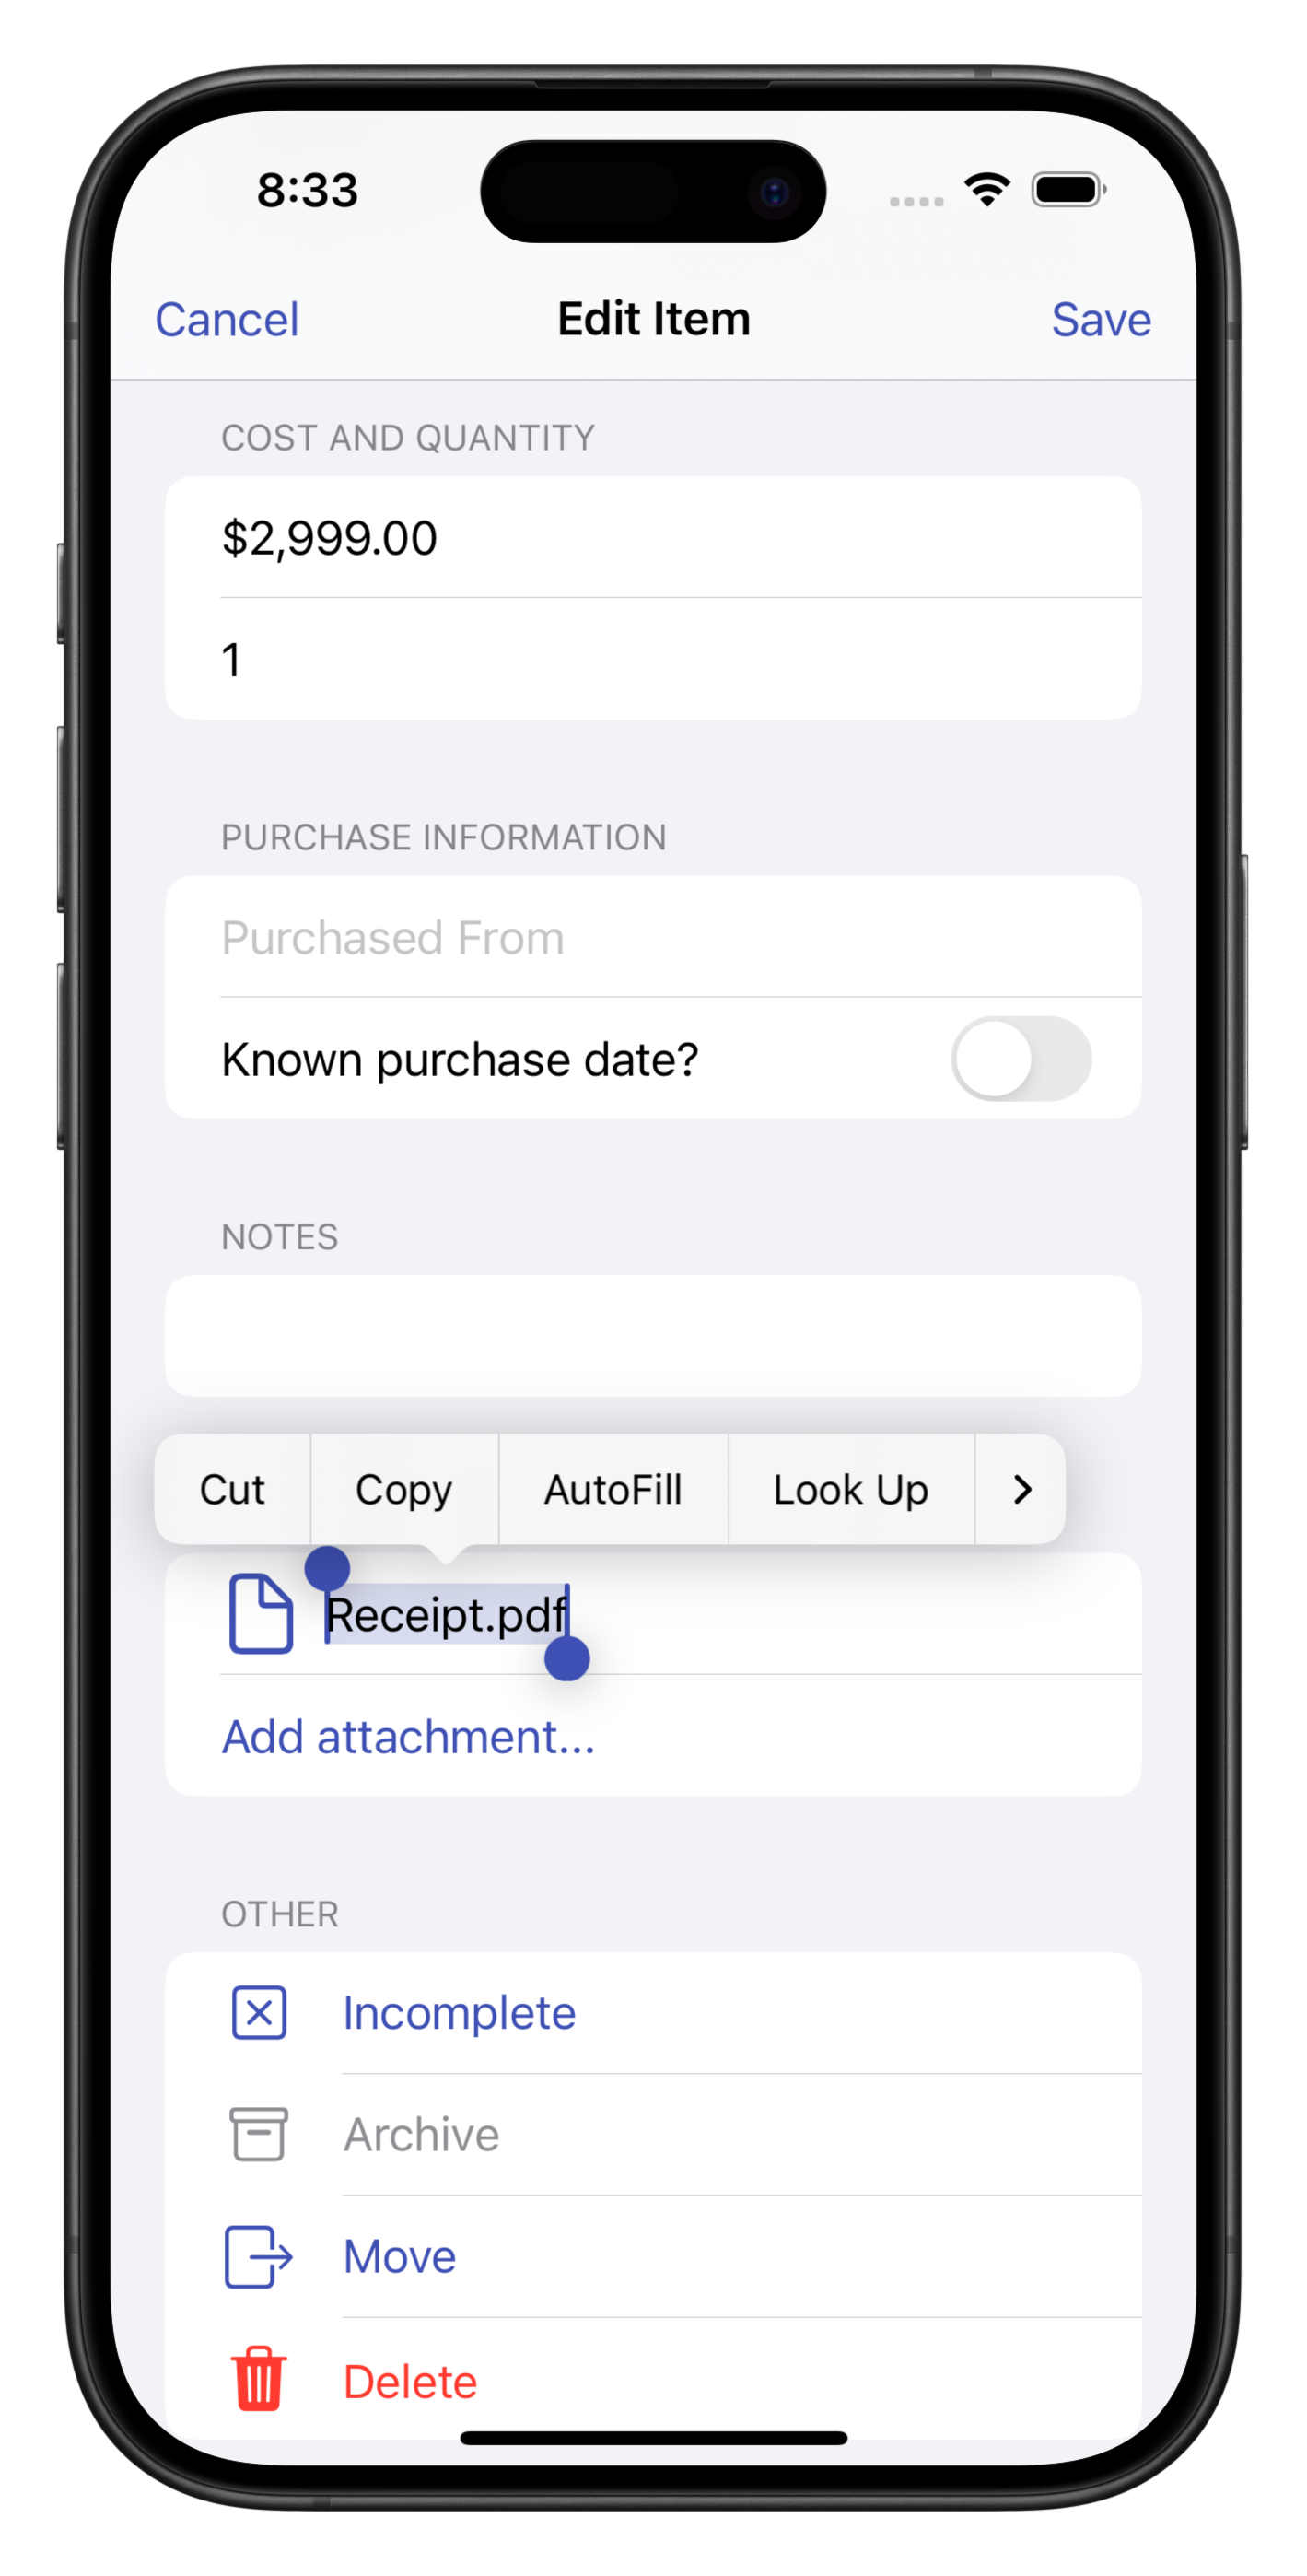
Add Attachments
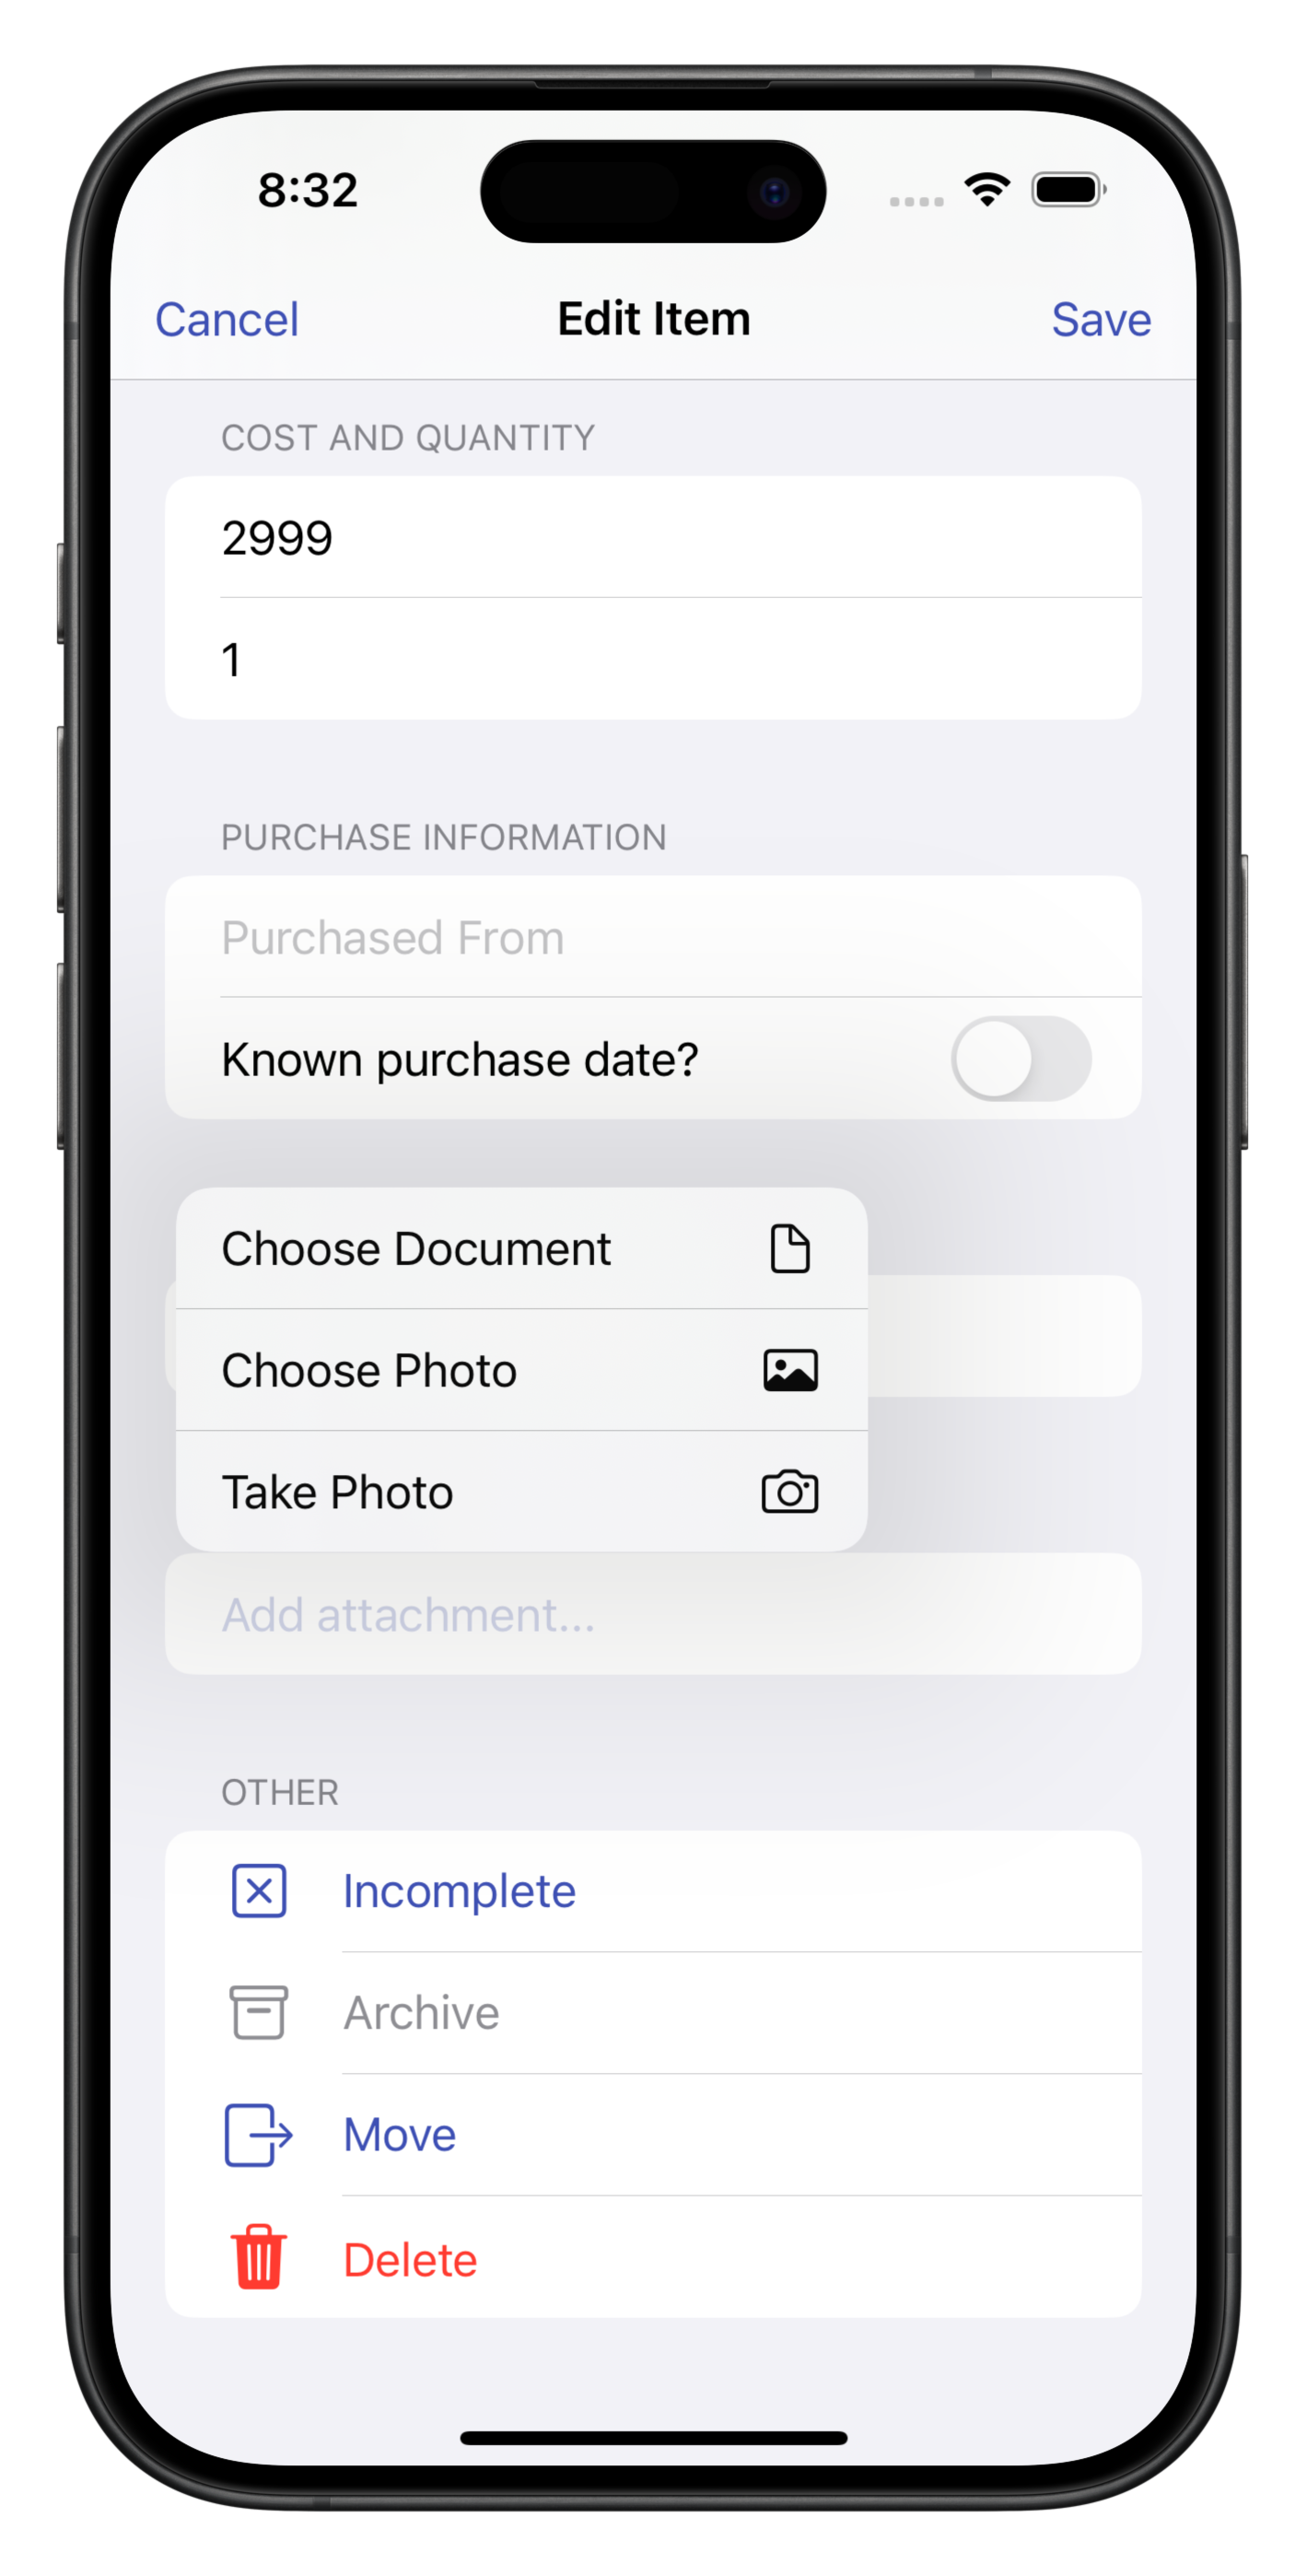
Attachments can be used to save receipts, proofs-of-purchases and additional photos of your items.
To add a document:
- Tap Add Attachment...
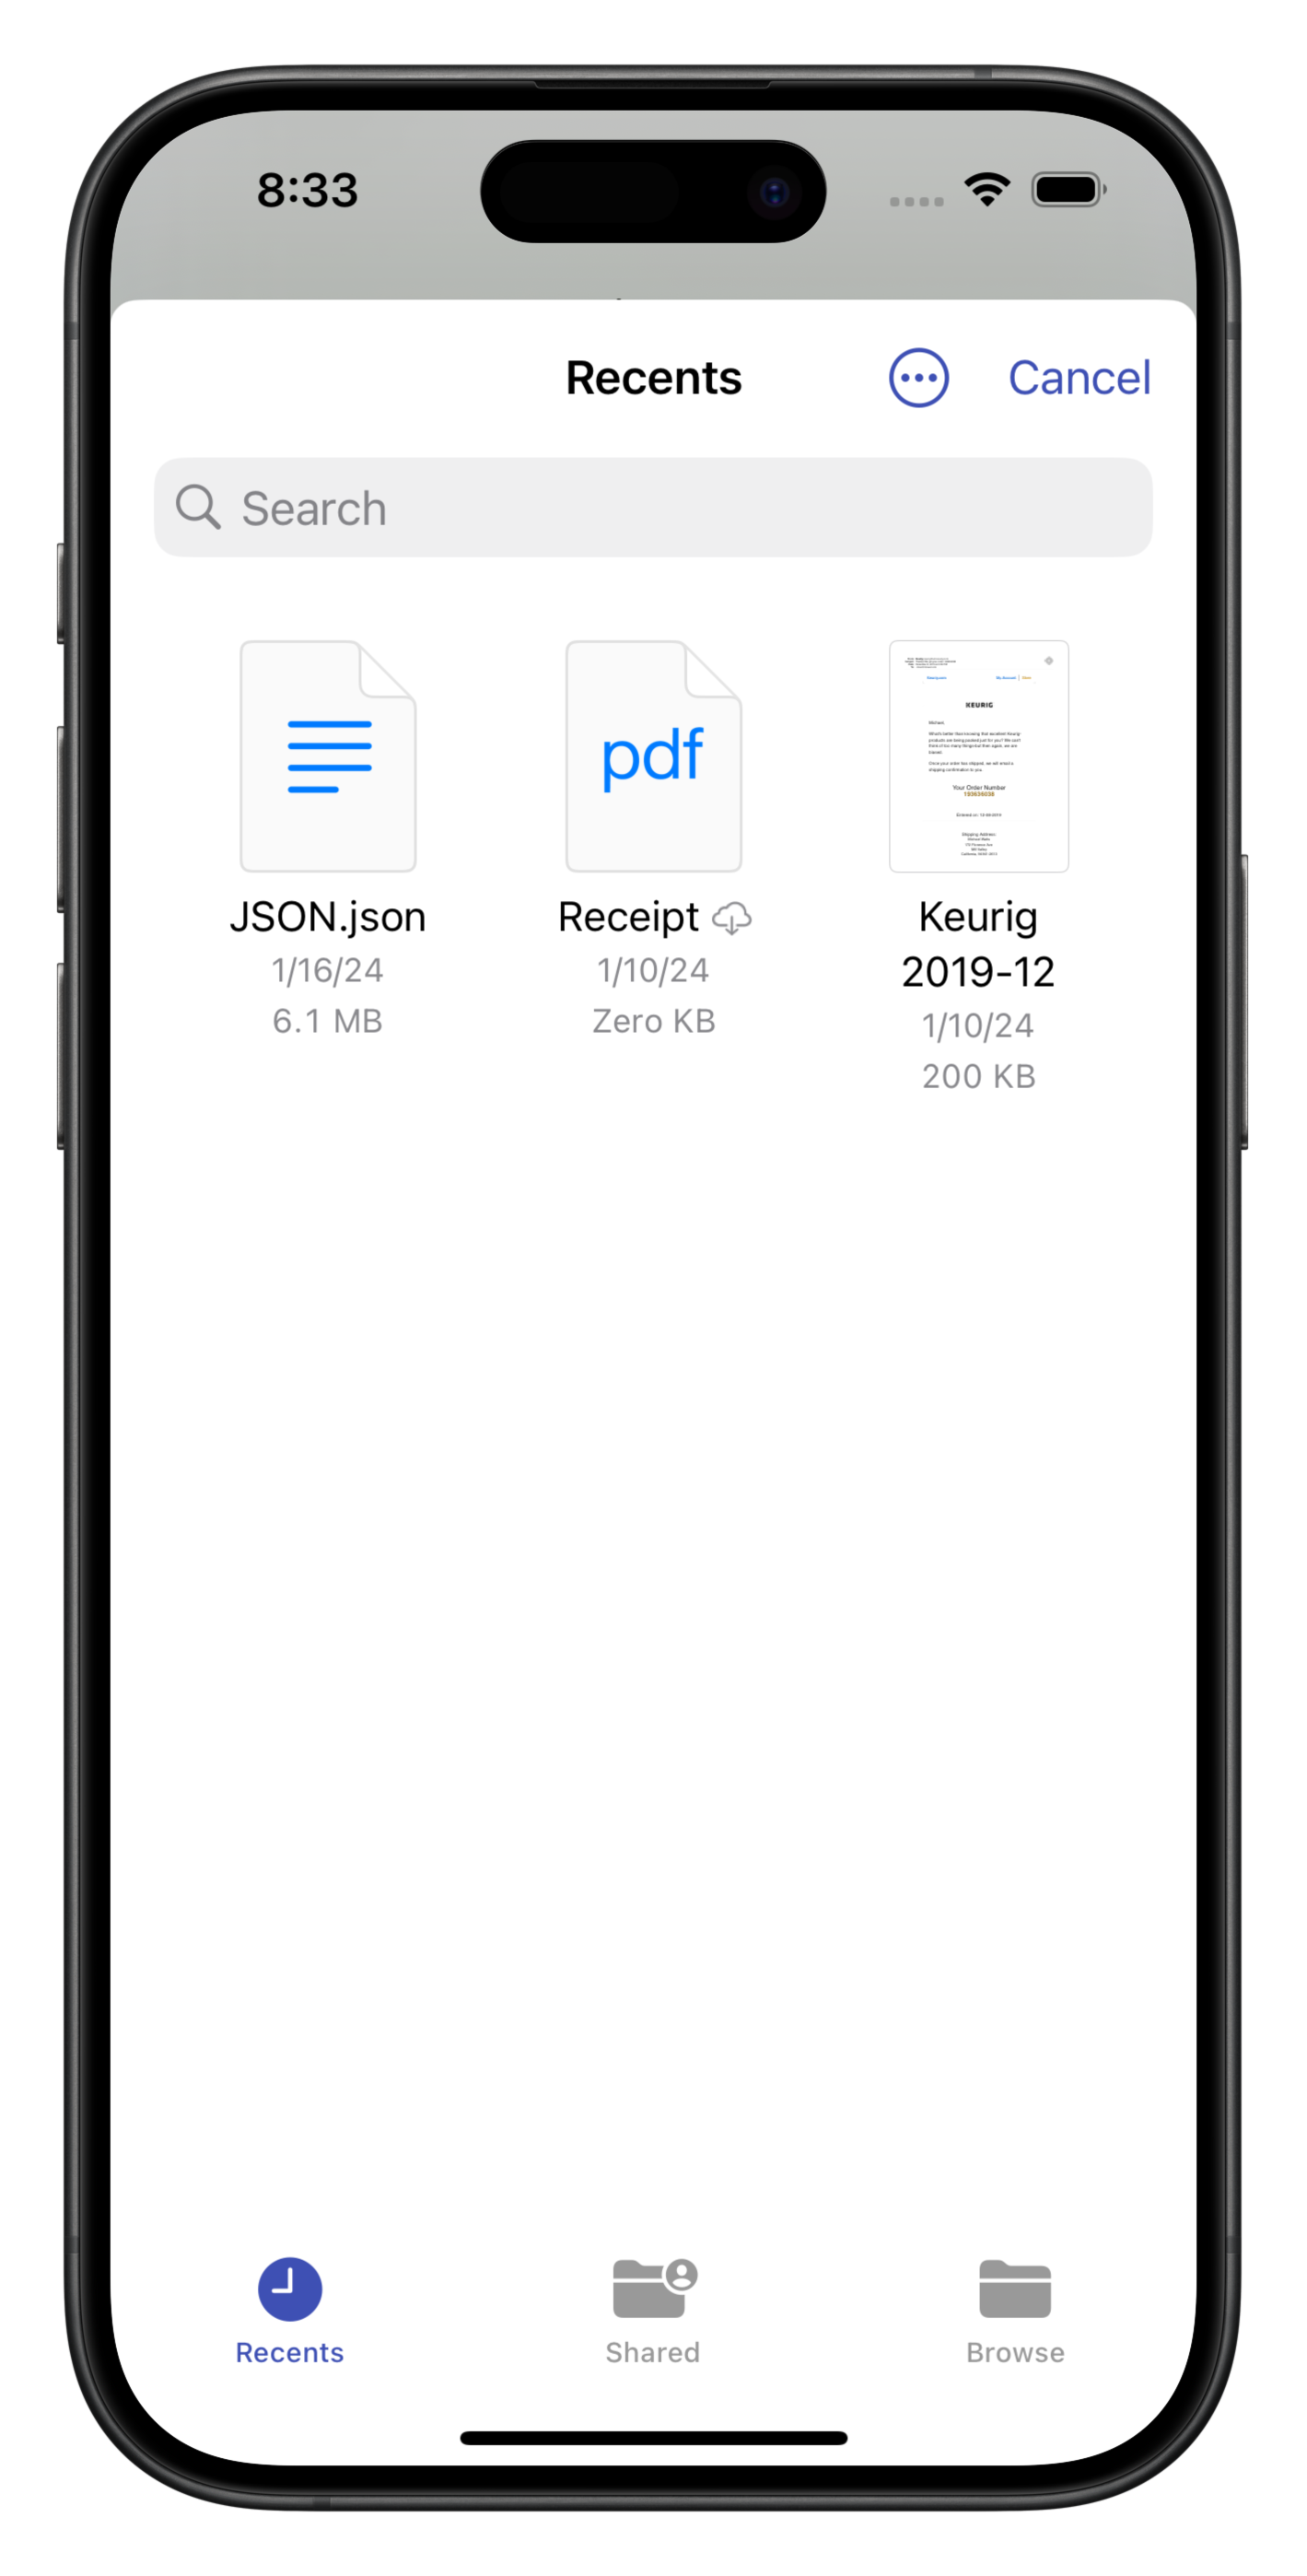
- Navigate to the document and select it.
- It will appear in the Attachments list and can be renamed by tapping on the file name.
Save, Review and Share
Finally, tap Save to ensure your work is saved!
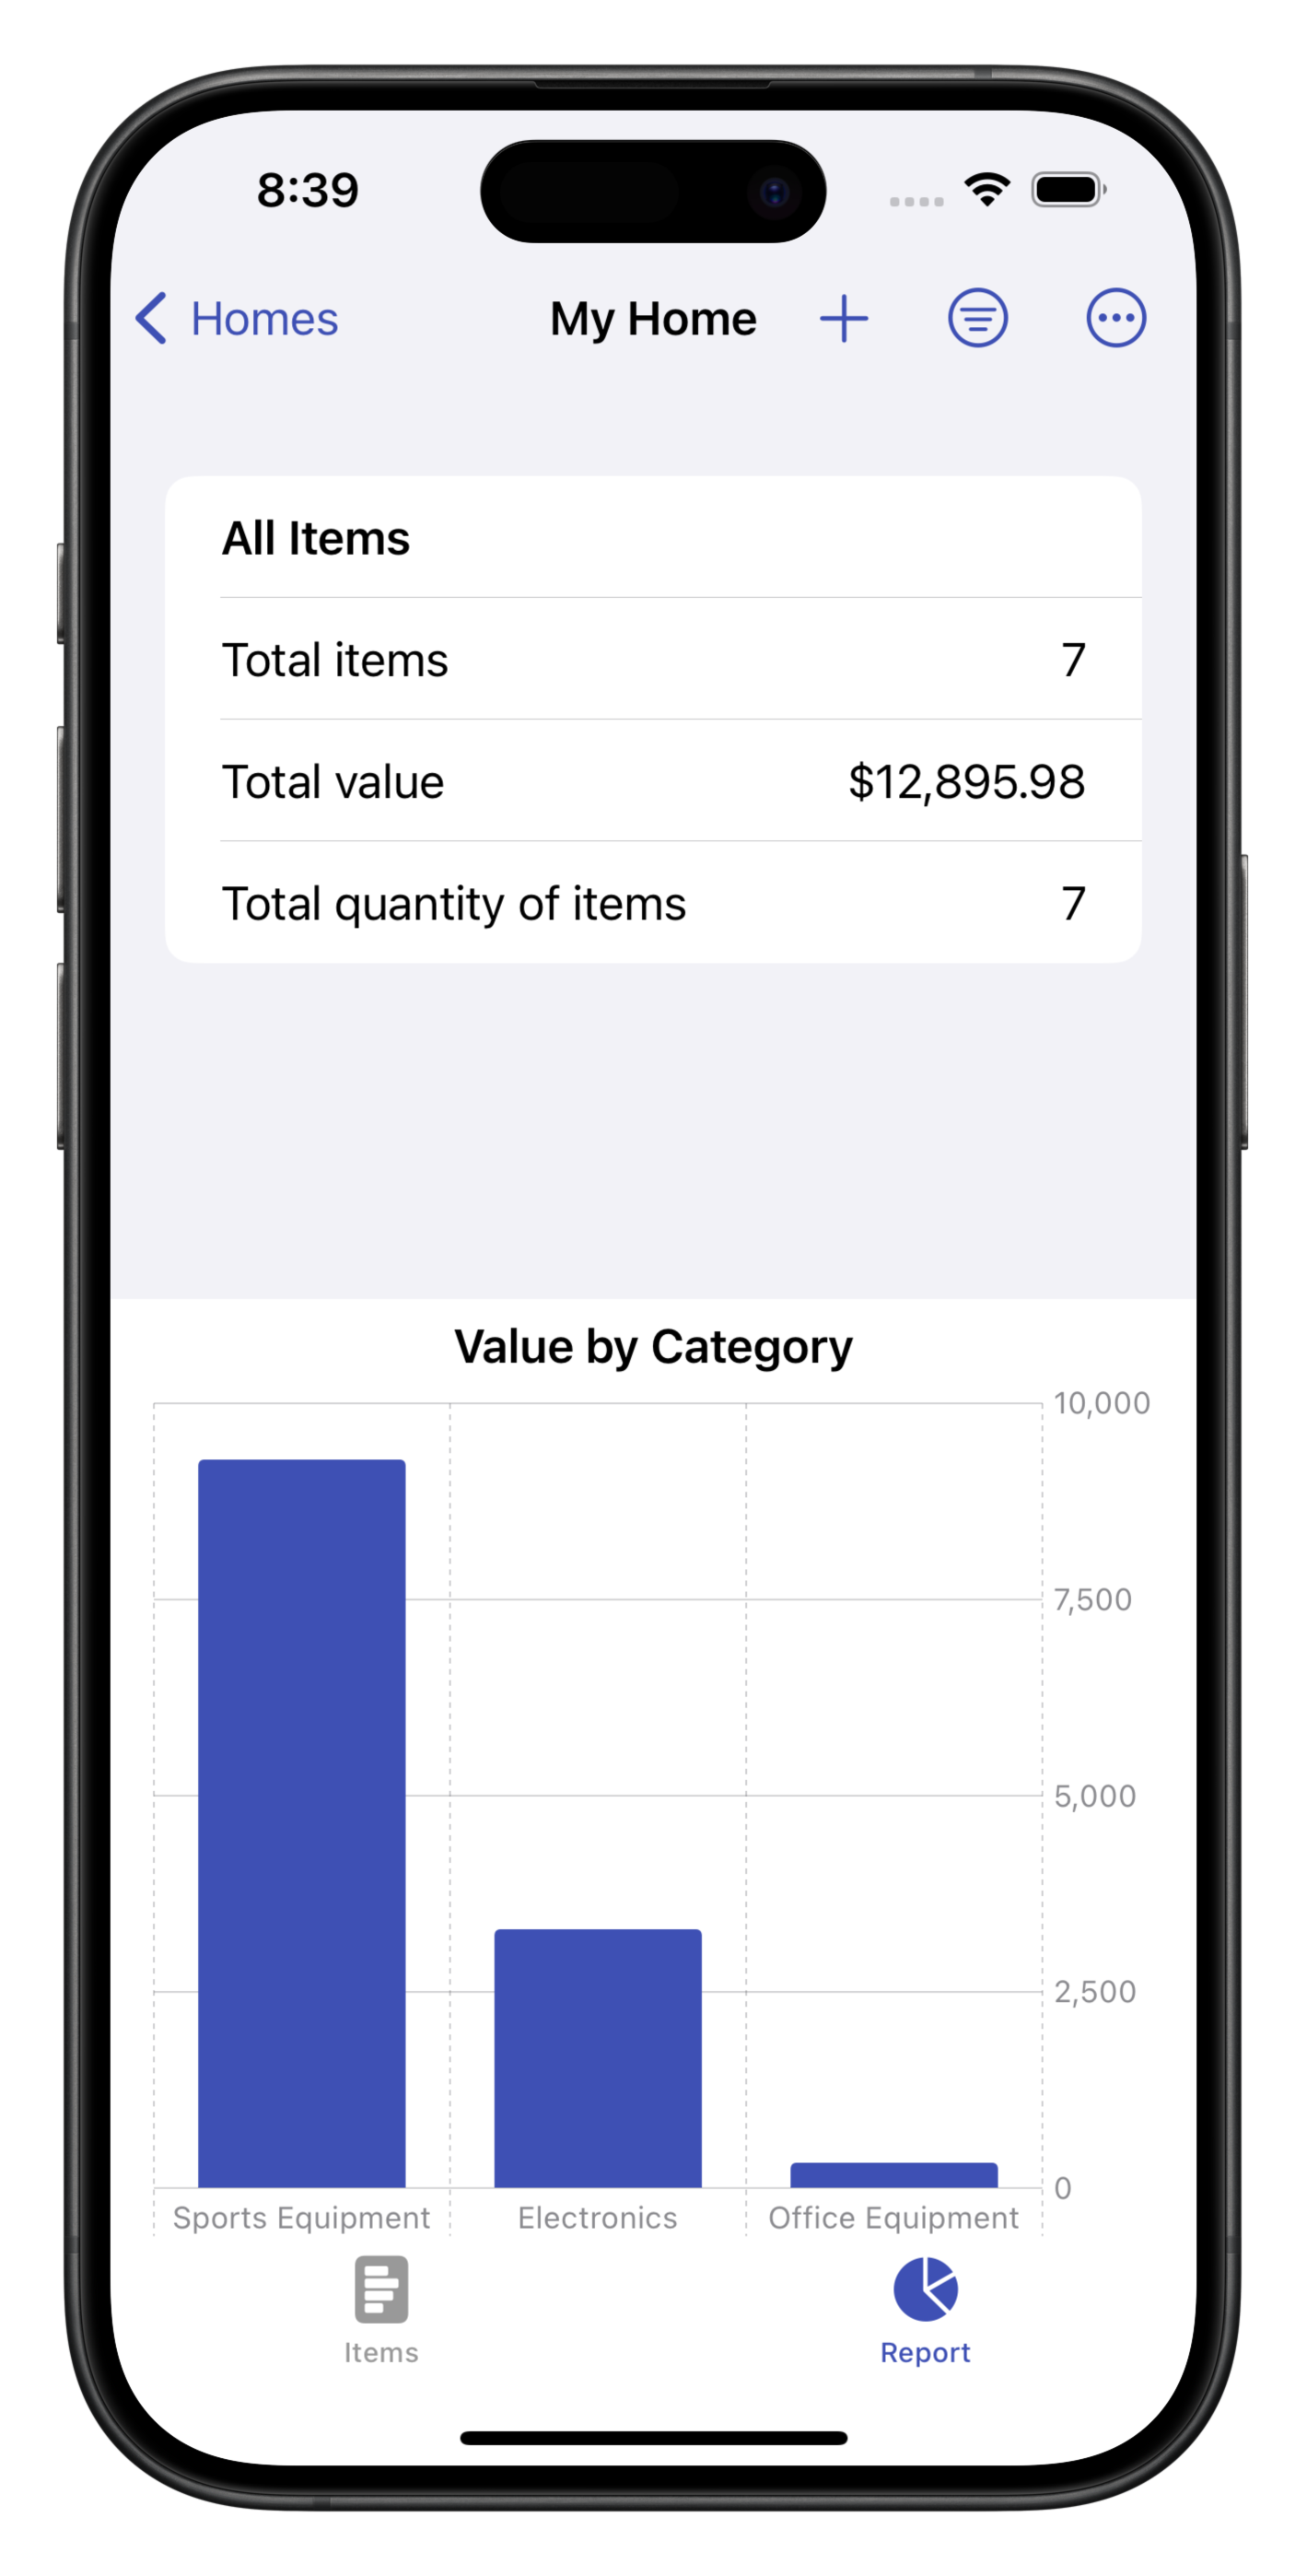
As you add more items to your home, you can review the total value and category breakdown by tapping on the Report tab.
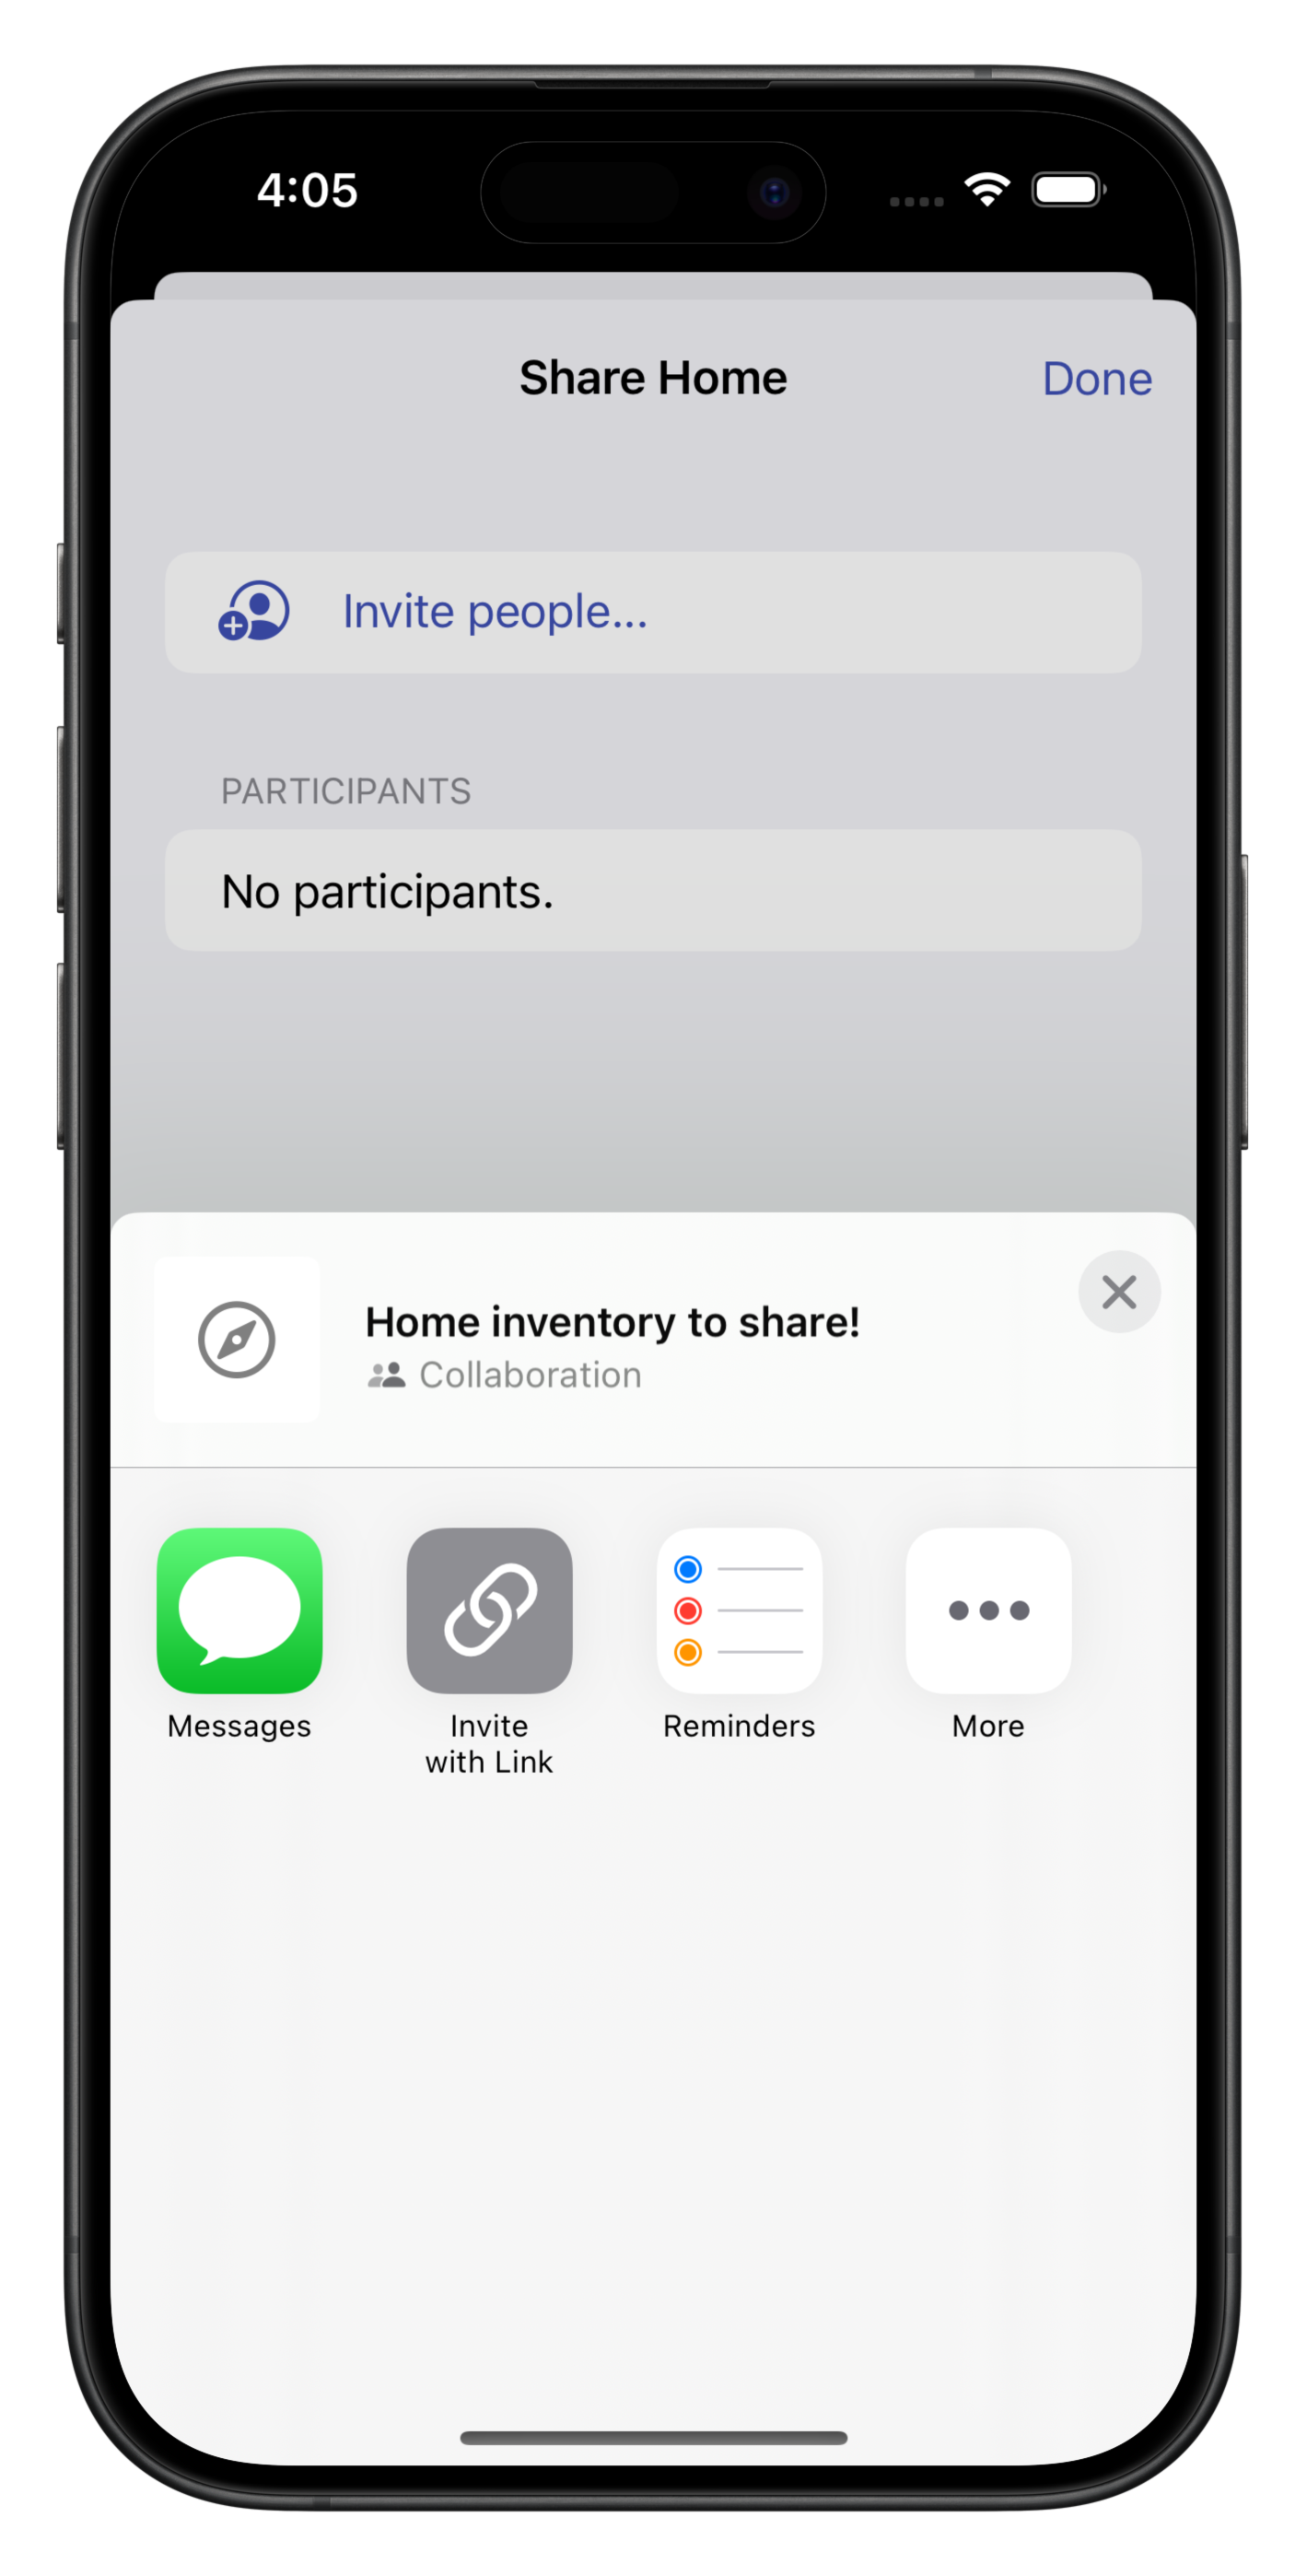
If you would like to share your work with another member of your household, tap on the three dot icon (...) and then Share Home. From this page you can add collaborators.
Receive release announcements!
We will never sell your information or spam you.